When I’m sewing at my machine there’s a lot of thread and tiny scraps being thrown around and it always ends up on the floor.
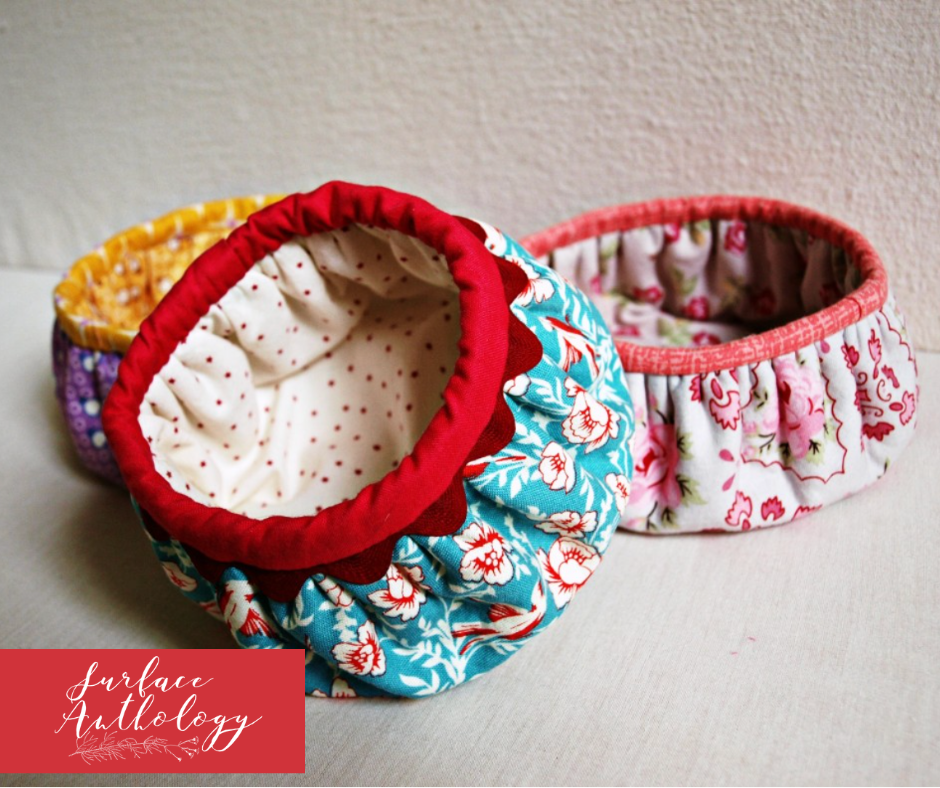
Though I love to vacuum doing it every single day is a bit much. I needed a fabric bowl thread catcher. So off I went to my Pinterest DIY board for some inspiration. I found this tutorial from Wedding Dress Blue and this one from A Spoonful of Sugar. Here’s my version. This is a fun project and I’ve made quite a few, they’re so useful and pretty!
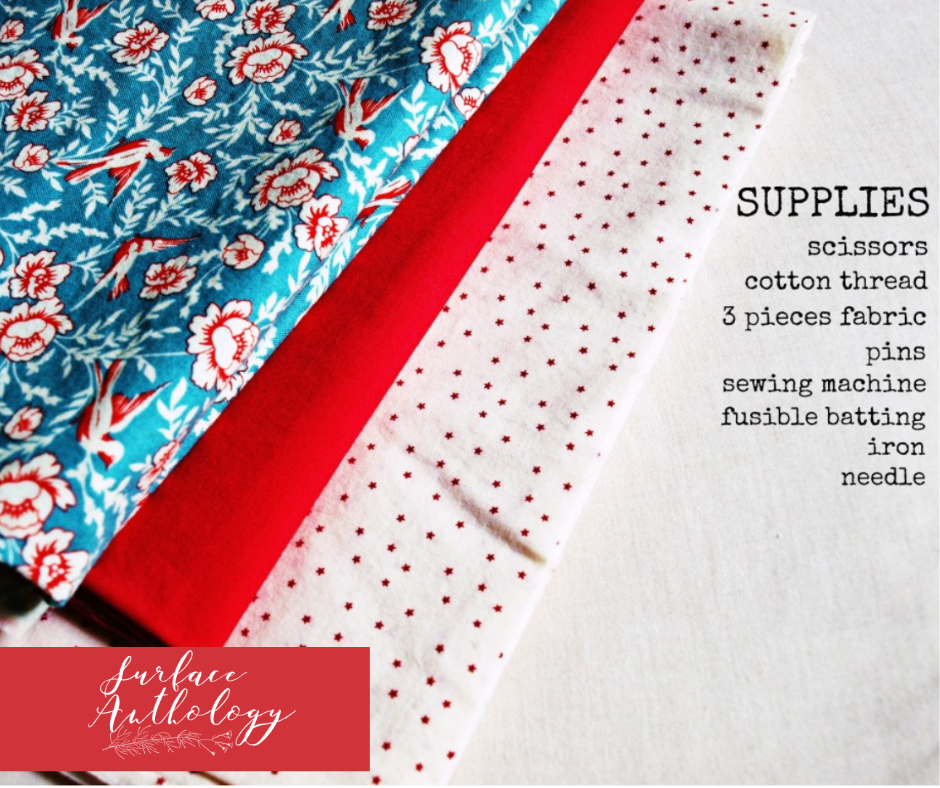
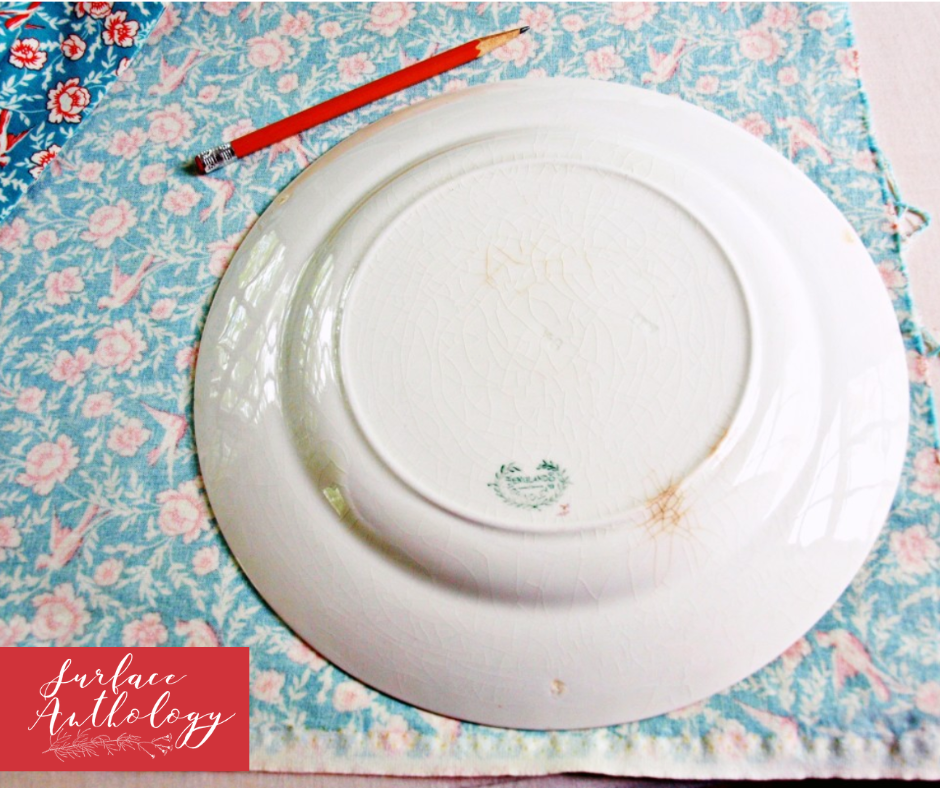
What I forgot to write in the above supply list is a dinner plate, the larger your plate (or any round template) the bigger your bowl will be. I used a 10″ dinner plate. My bowls ended up being 3 1/2″ to 4 3/4″ in diameter. When you are done gathering your bowl you will measure the circumference to get the length of binding you will need.
First thing to do is iron your fabric.
Then trace around your plate onto your fusible batting and two contrasting/coordinating fabrics and cut out.
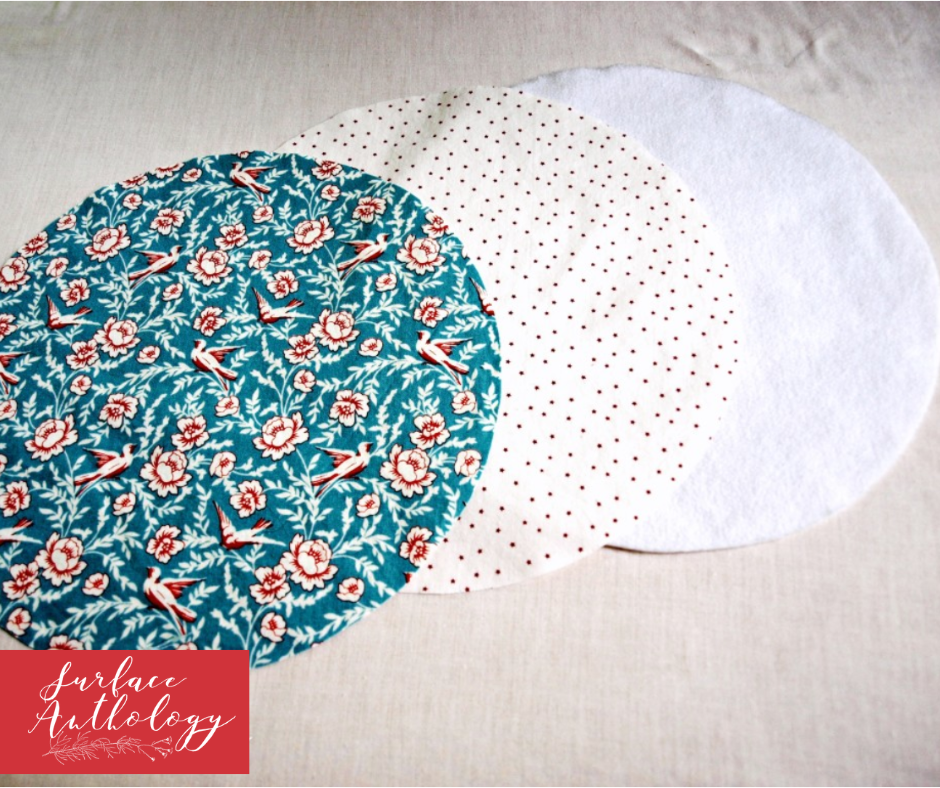
Once you have all 3 circles cut out follow the manufacturers directions of your fusible batting and iron your batting circle to 1 of your fabric circles.
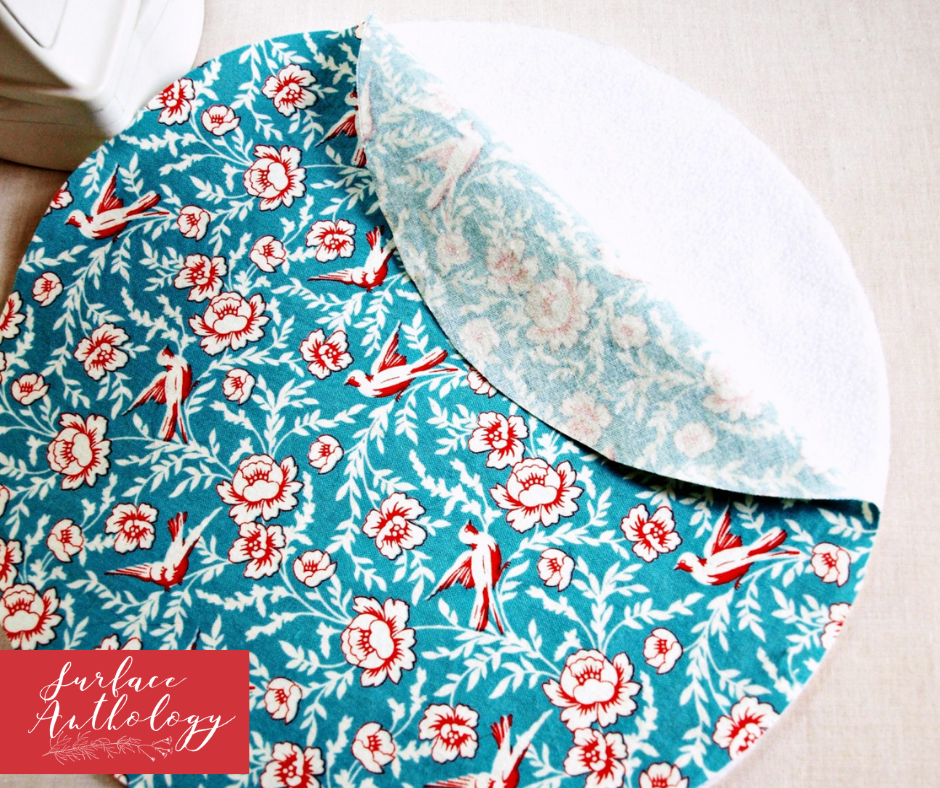
Now put your layers together, fabric then batting then fabric (right sides out!) and sew around the circumference.
I used my 1/4″ quilting foot to sew 1/4″ away from the edge and then I sewed around a 2nd time between my first stitch line and the raw edge.
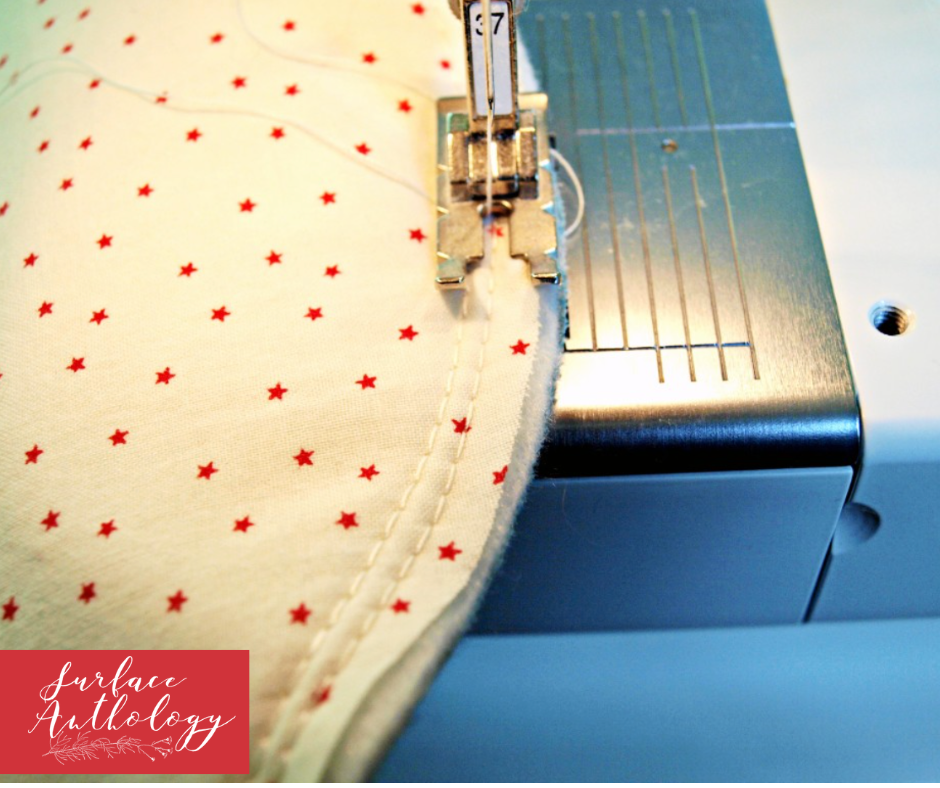
Next step is to gather the fabric to form the bowl.
Pull the two bobbin or bottom threads and form your gathers, this is what makes the fabric bowl. When you are happy with the size of your bowl tie these threads together to secure the gathering and trim threads.
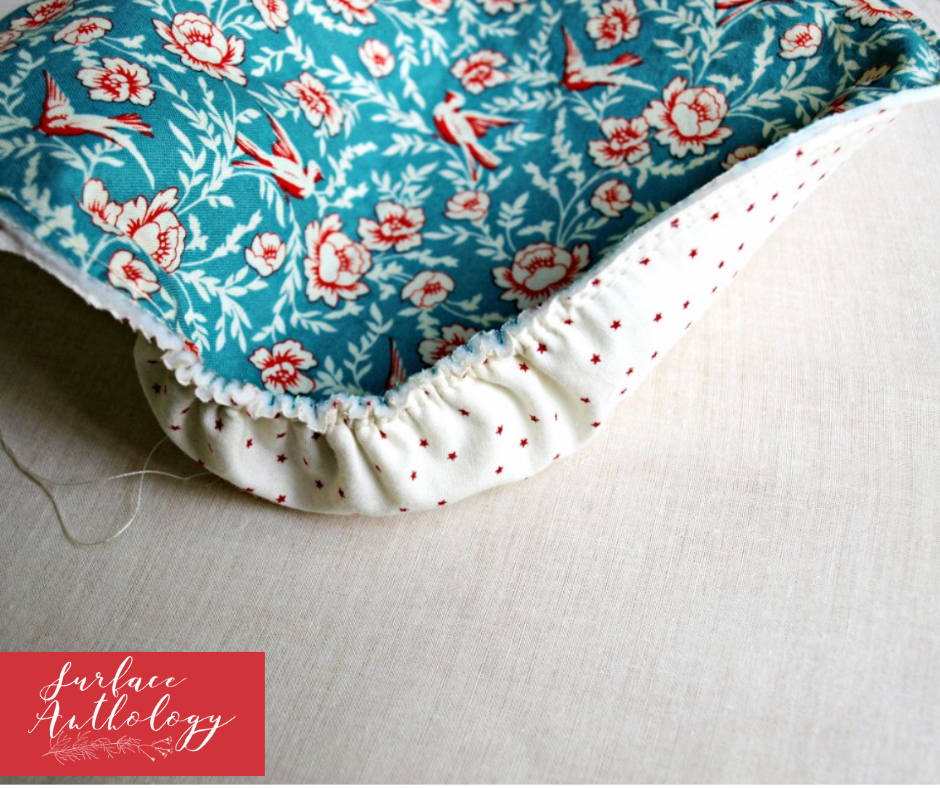
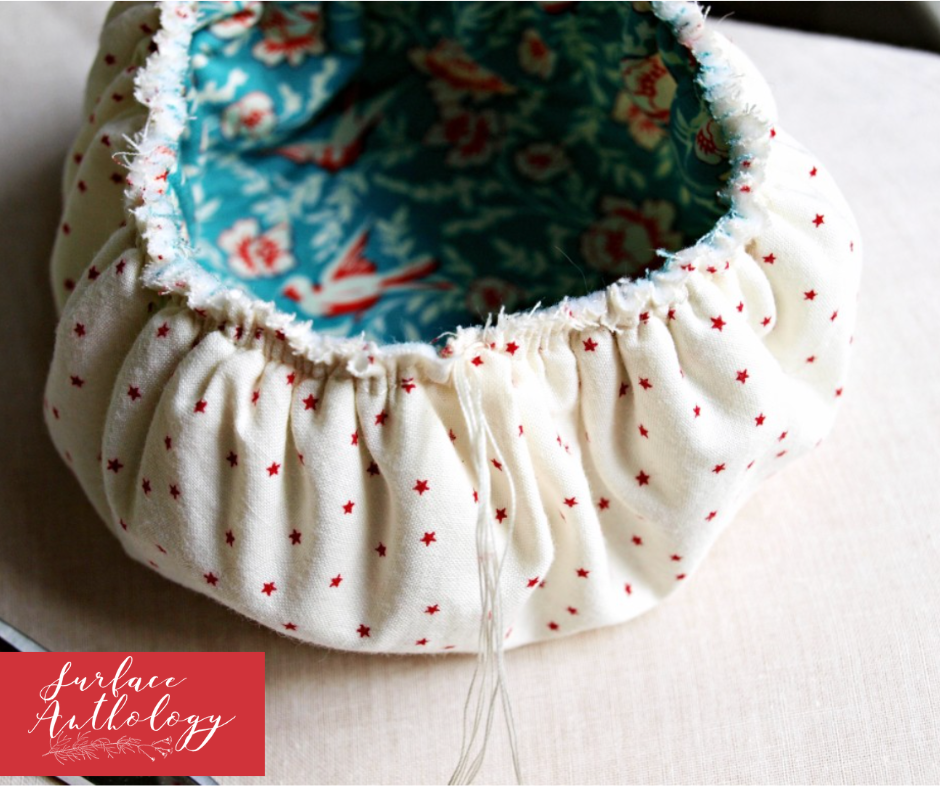
Up next is to sew the binding onto your fabric bowl.
My bowls circumference measured 12 1/2″ so I cut my binding 2 1/2″ by about 16″. Fold your binding in half length wise, wrong sides together and iron, also iron 1/2″ hem on one end. Pin the raw edge of your binding to the raw edge of your bowl beginning with the 1/2″ folded end. I stuck a length of rick rack in to add to it’s cuteness.
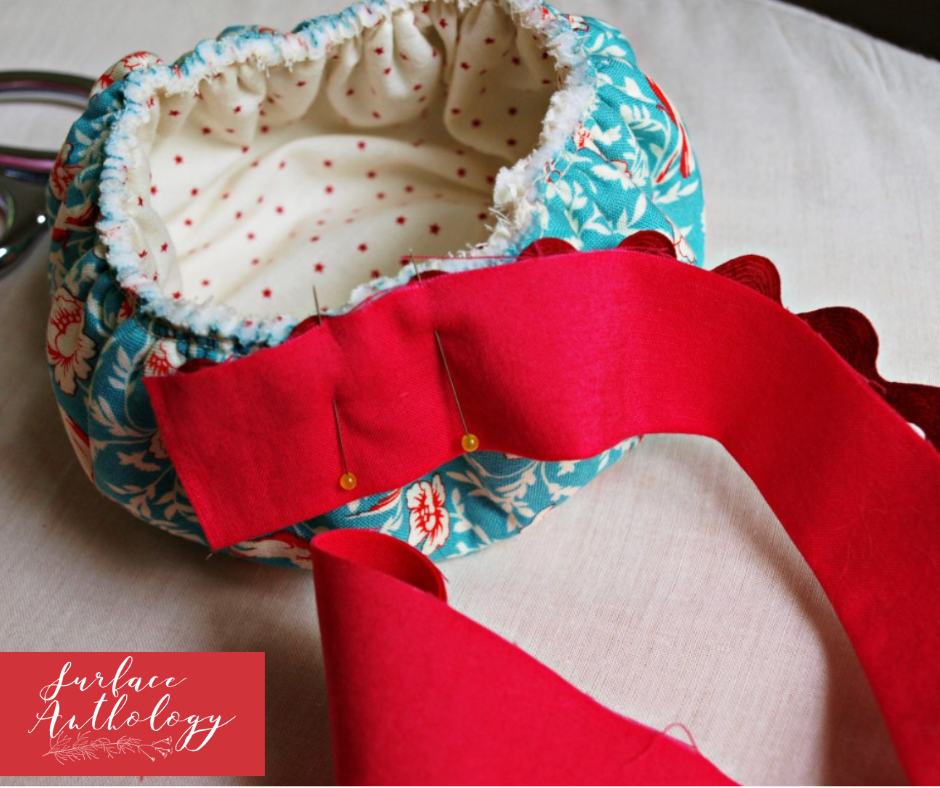
If you do add rick rack or another kind of trim make sure to tuck the raw end into your 1/2″ hem in the binding. Sew all the way around your bowl, I used a seam allowance that was just a bit more than 1/4″ to cover up my gathering stitches. When you get to the end be sure to over lap your binding about an inch, back-stitch to secure.
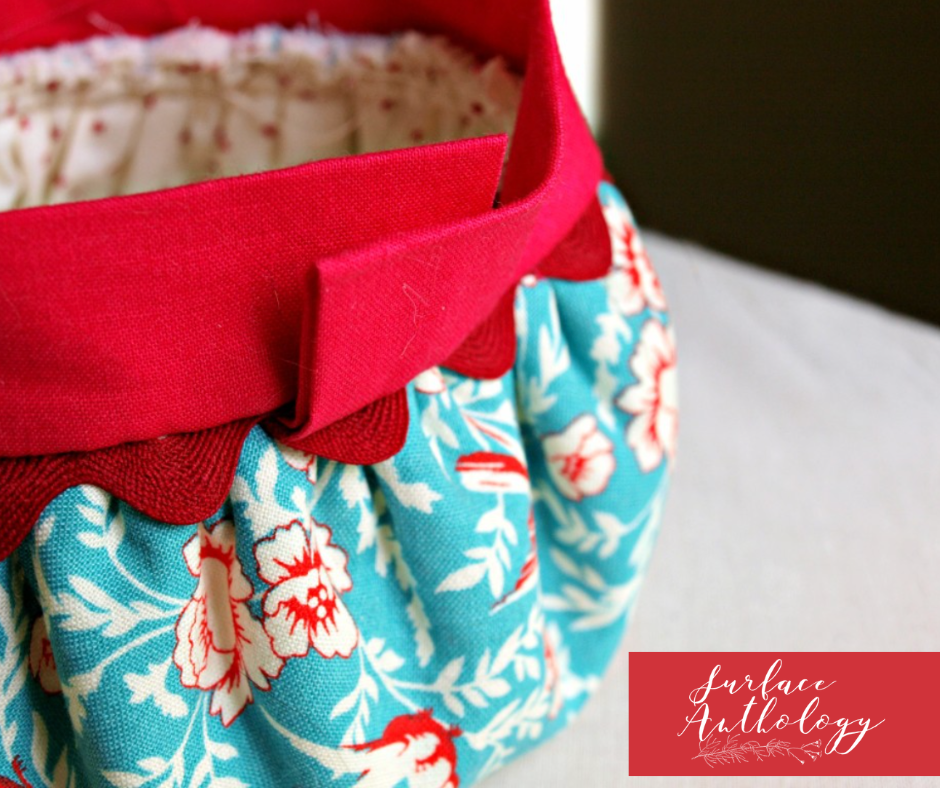
Turn your bowl inside out (these bowls are reversible!) and blind stitch your binding down and create a beautiful finish.
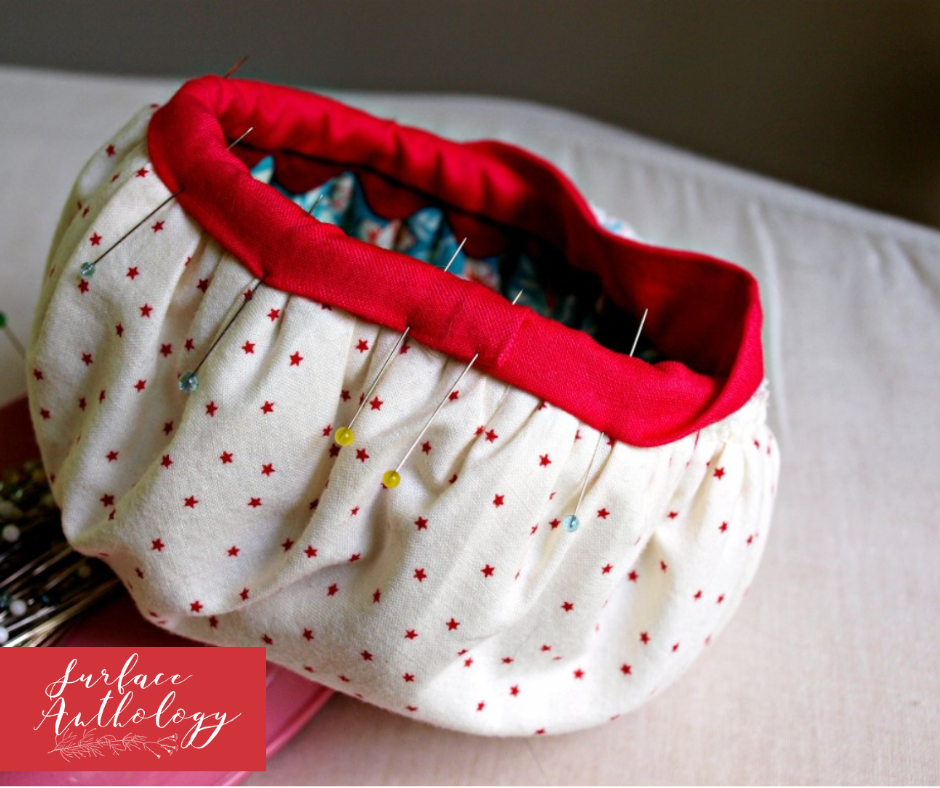
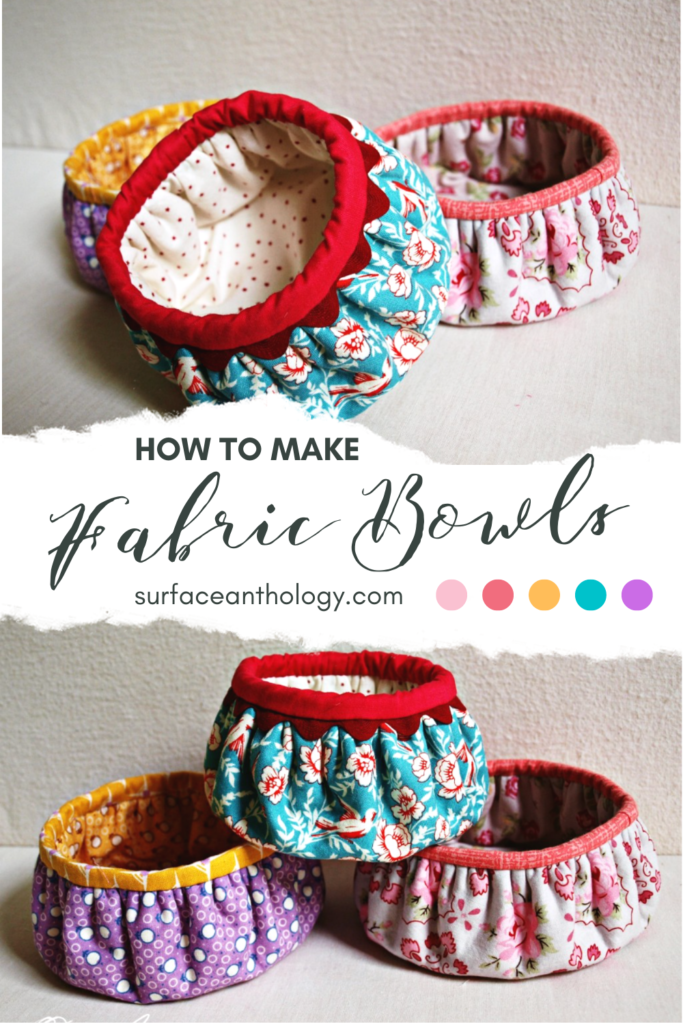
Voila! That’s how you make fabric bowls!
These bowls are fun to make and my favorite part has been picking out the fabric.
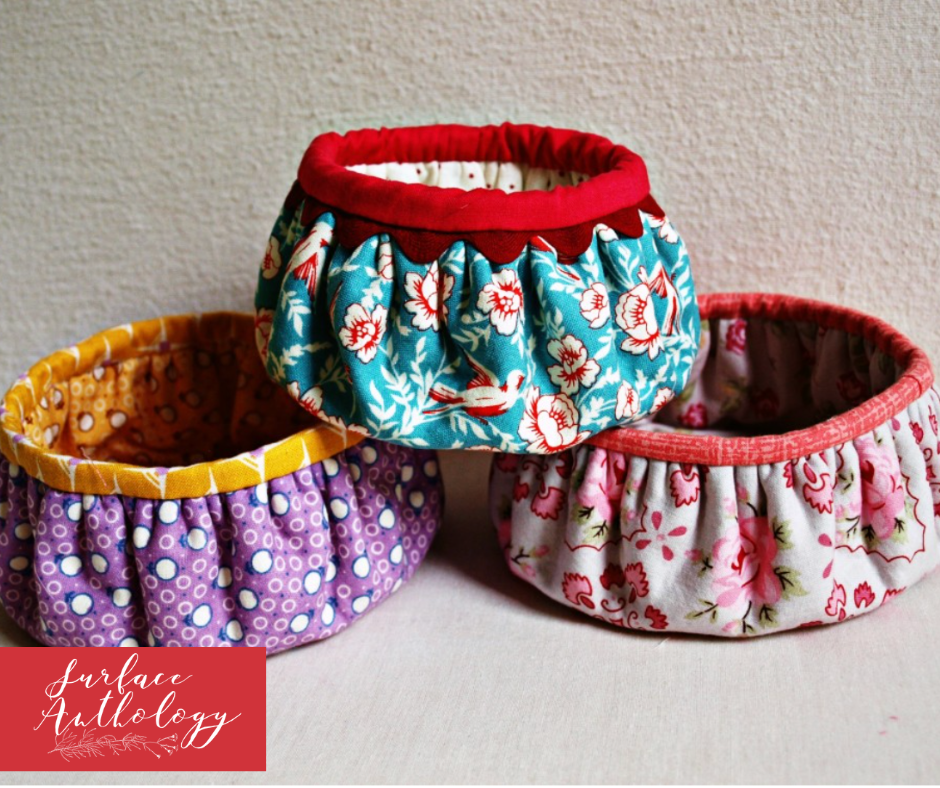
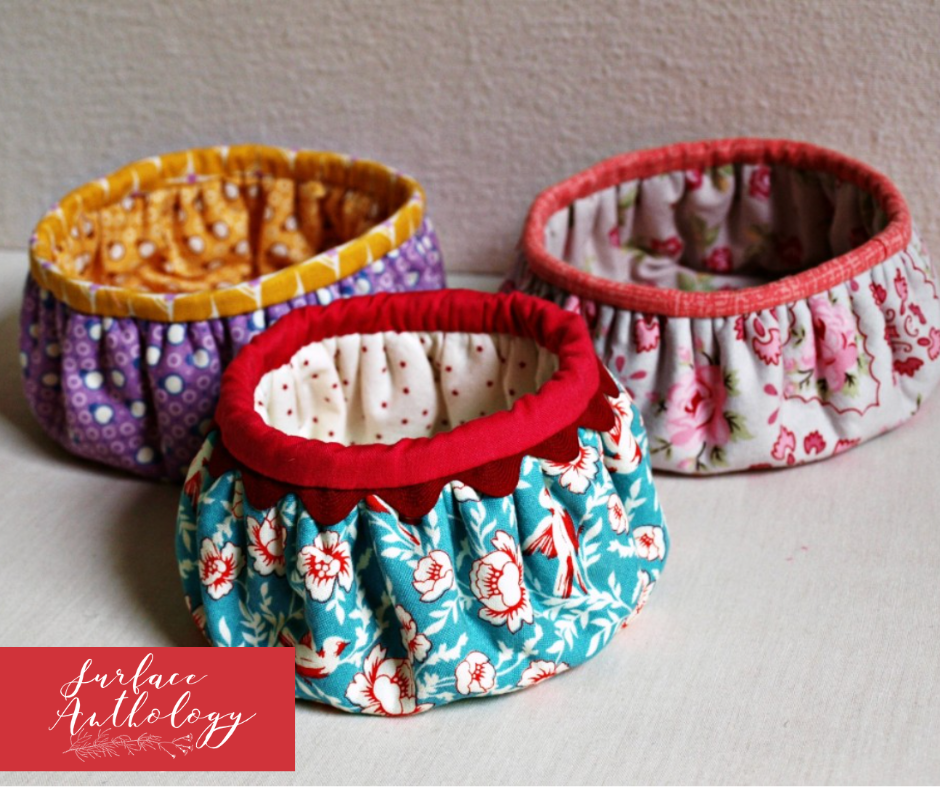
I’m so happy you came by to visit me today and learn how to make fabric bowls! I hope that your time here was an enjoyable and informative experience. If this is the first time visiting my blog, welcome aboard – it’s always great seeing new faces around these parts 🙂
If you love DIY be sure to check out these posts!
Jayne




One Response