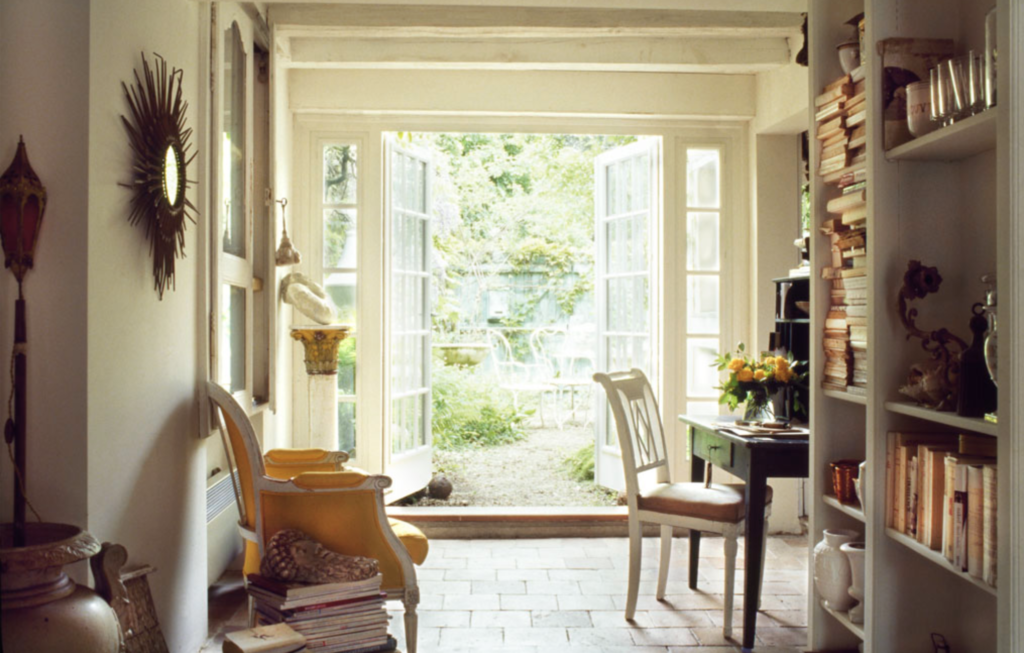
It was just beautiful, pale stone gravel with no edging, lovely plantings all around and antique iron furniture, perfection!
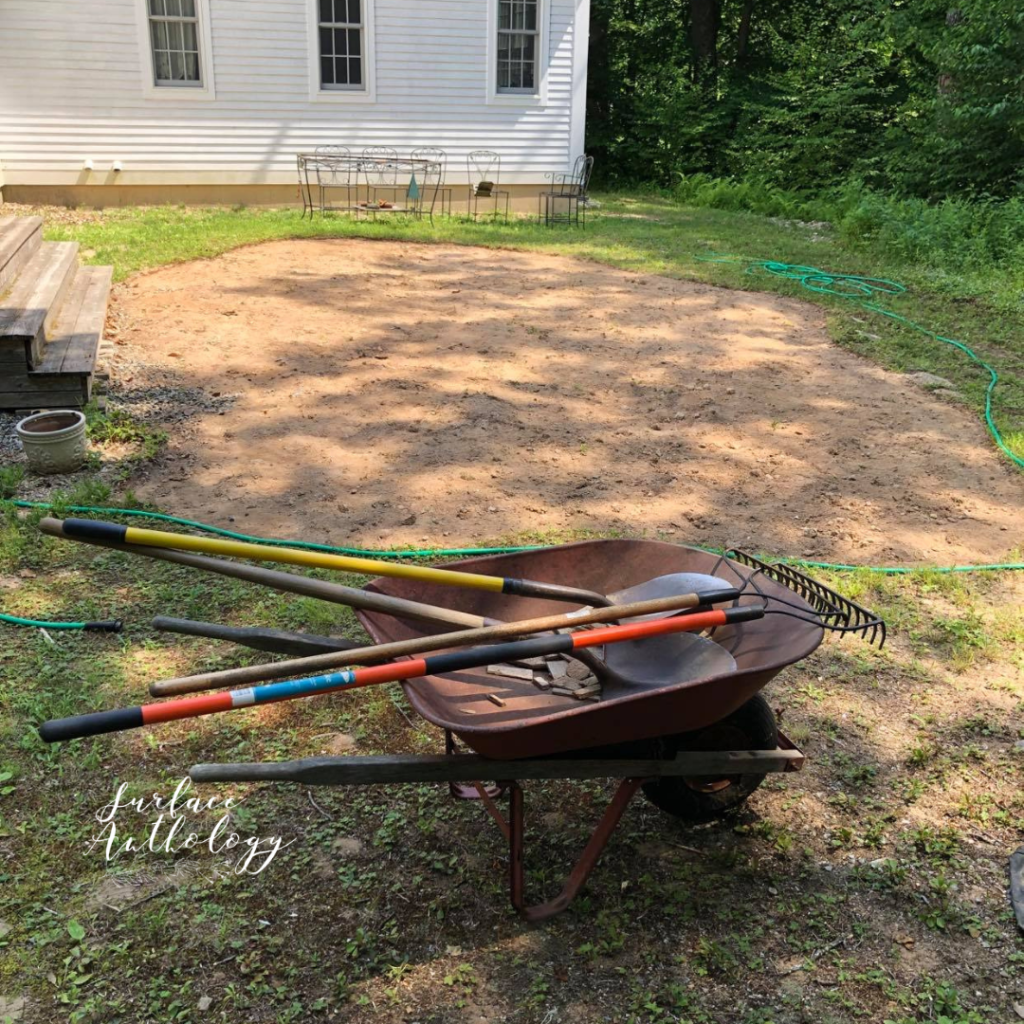
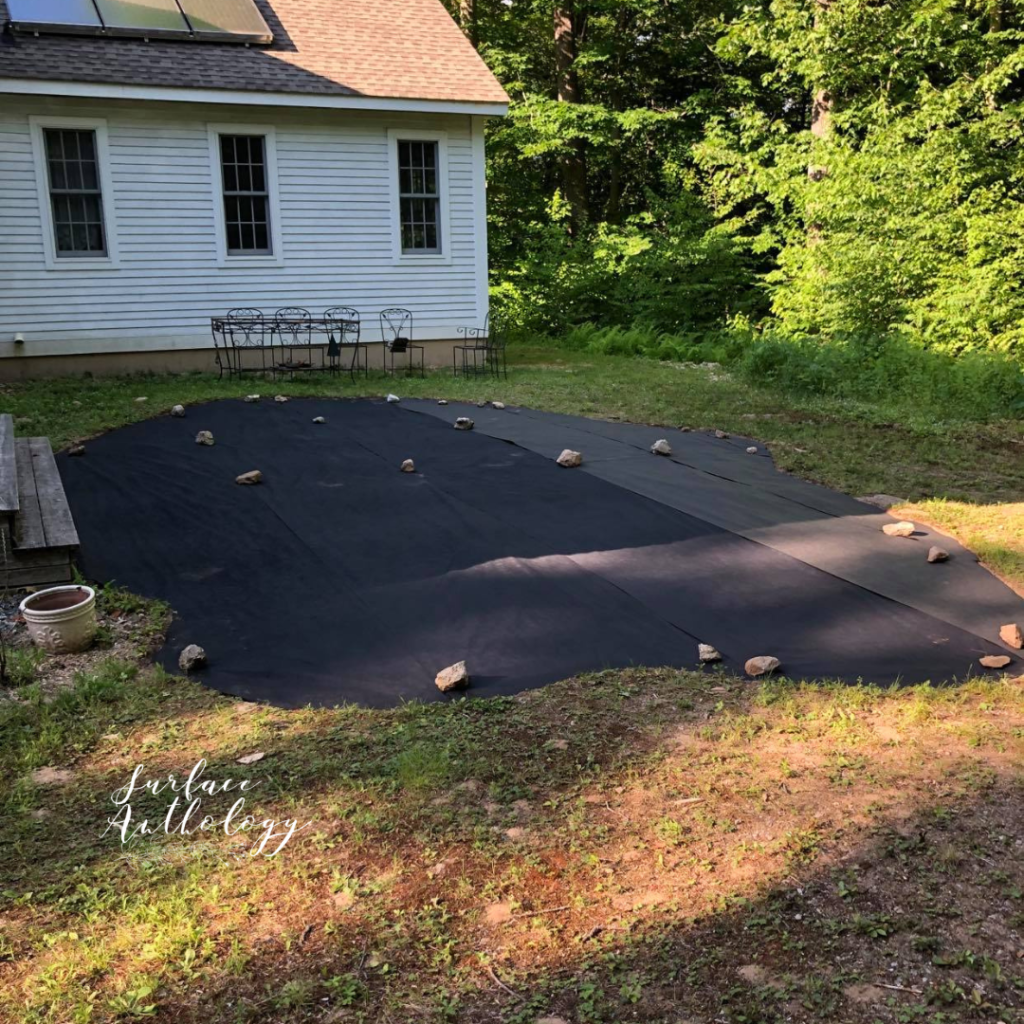
First step for our patio was to define the shape which we did by using a water hose to outline the shape. Then we dug down about 2″ and raked it as flat as possible.
Next step is to lay down landscaping fabric and cut around to fit the shape of the patio. We used stones to hold it down until we brought in the gravel.
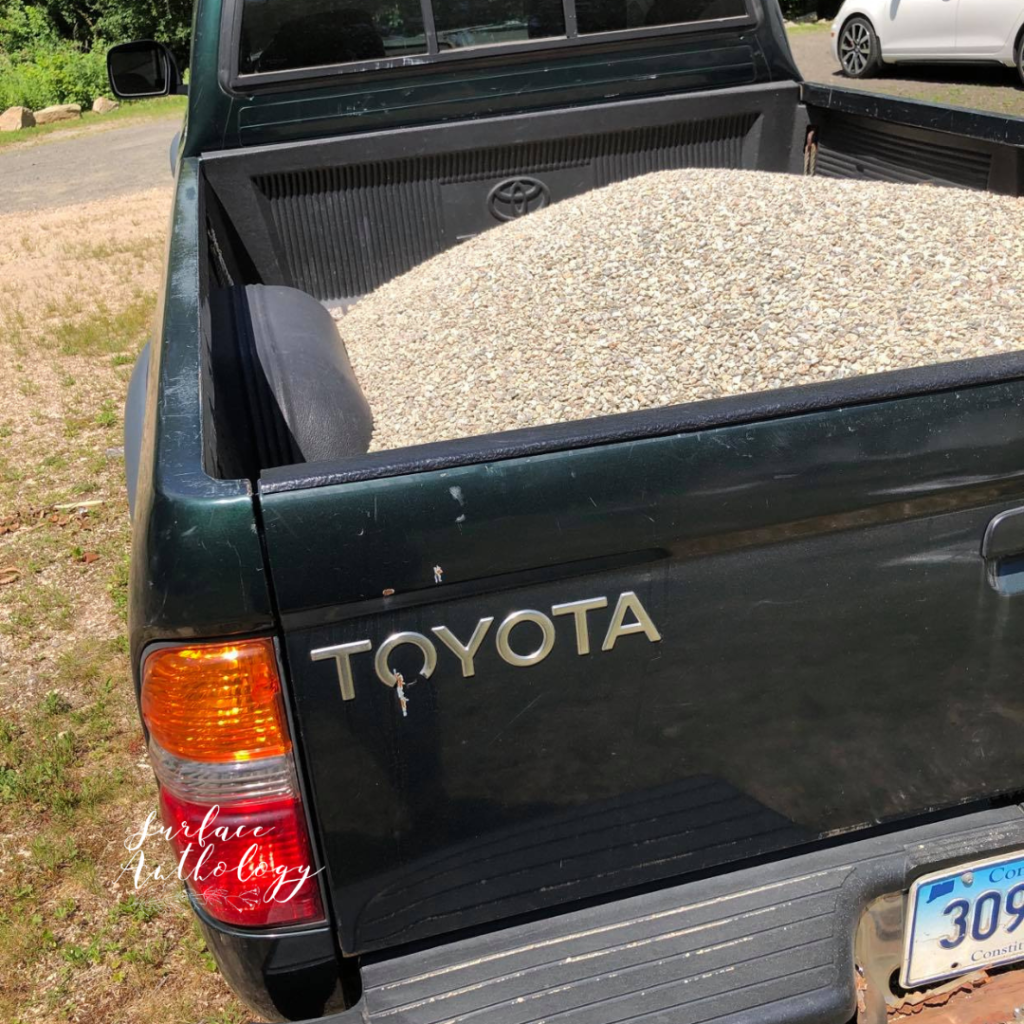
The last step is the pea gravel! We used 1 yard of pea gravel and we chose a natural rounded stone as opposed to crushed so we could walk barefoot on it. It took two trips in our old Toyota to get it all here.
We used a wheel barrel and dumped out piles of gravel and then spread out with a metal rake. We we’re going for about 2″ to 3″ deep, too deep and it’s difficult to walk on.
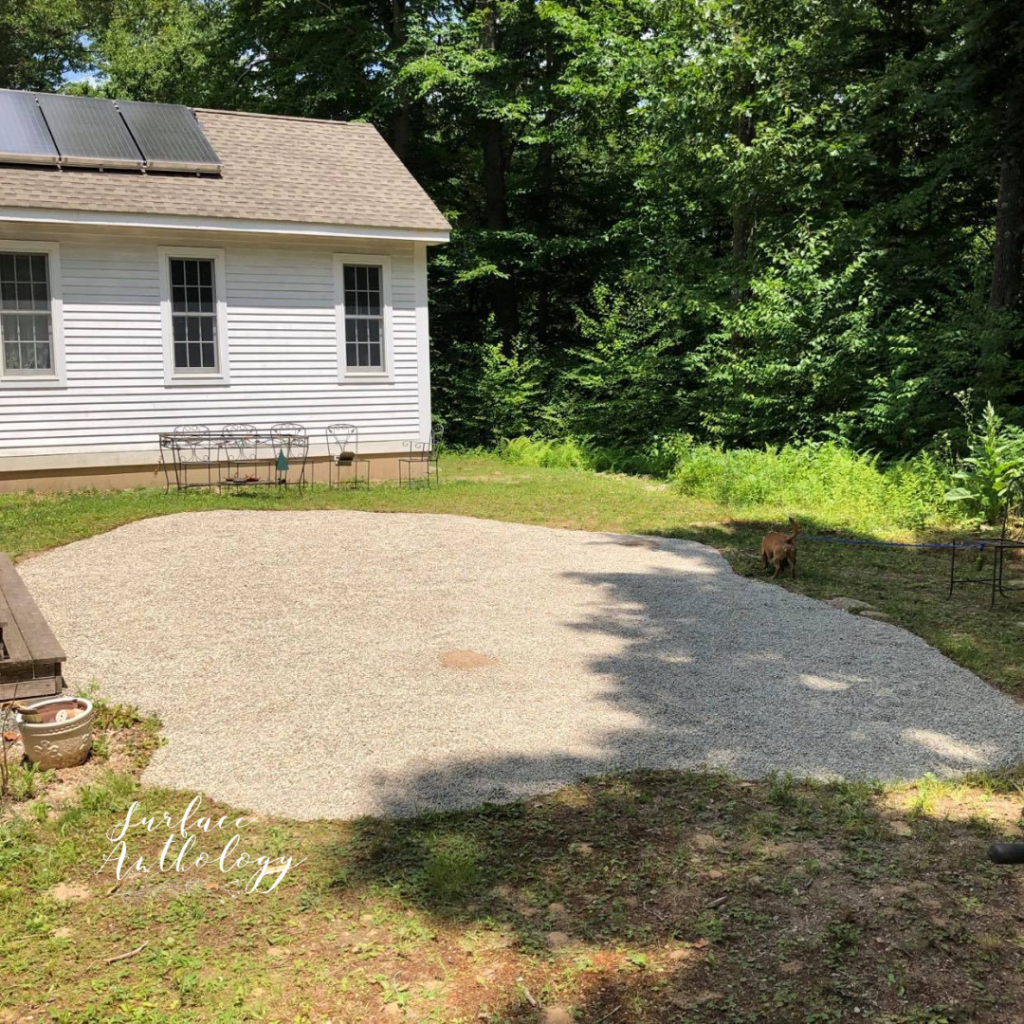
If you look close you’ll not only see Henry sniffing around but two rocks coming through the gravel. Our house is built on ledge and here in CT we’re know for it. So we have to leave them and call them a lovely feature!
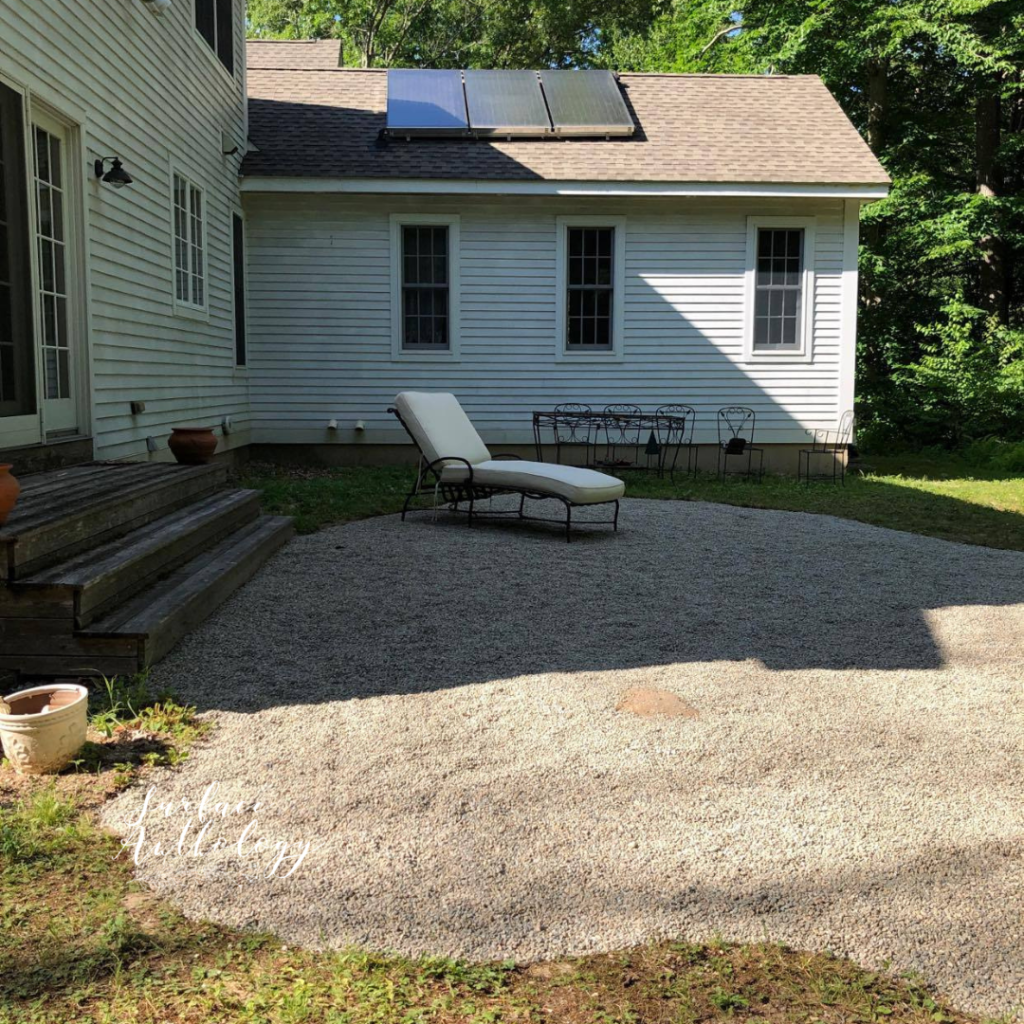
I’m far from my French pea gravel patio inspiration! But with some landscaping I plan on making this once neglected area a relaxing retreat.
The entire project cost us under $150 and we’re really please with the results.
Jayne