")
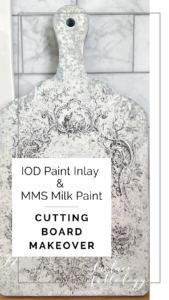
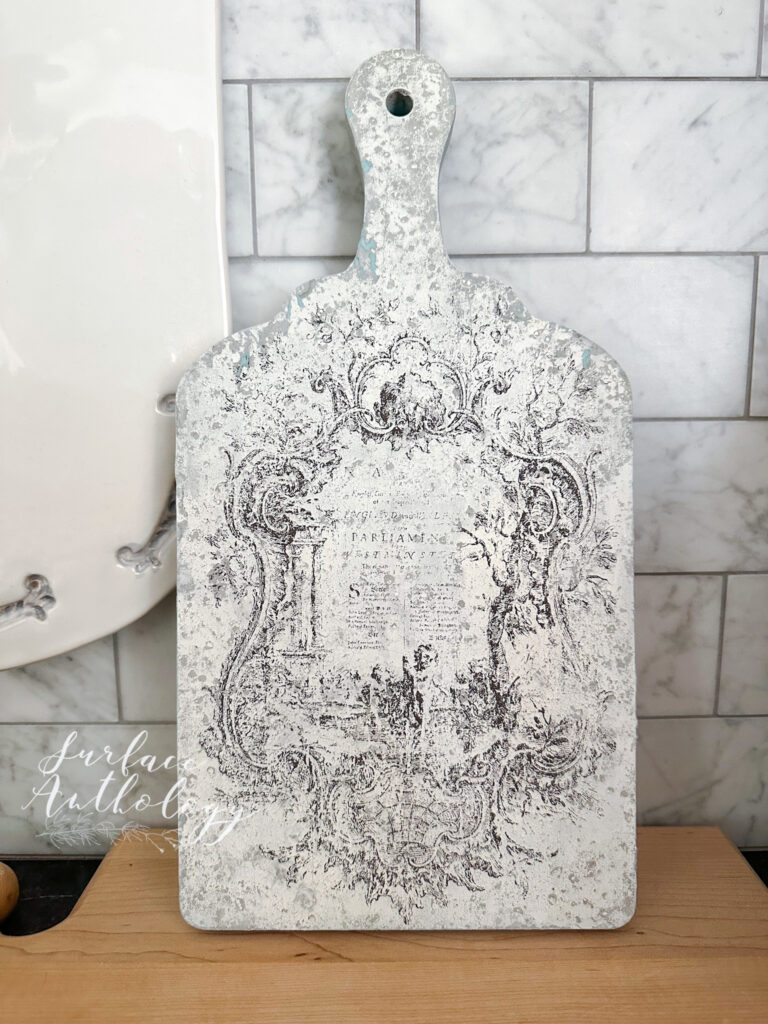
I thought using Miss Mustard Seed’s Milk Paint and an IOD Paint Inlay might be the perfect combo for a DIY cutting board project I wanted to finish.
Plus, with Milk Paint and an Inlay, I was hoping to create a ton of texture that would make this board really stand out and make a nice accent in my kitchen.
Mission accomplished! Read on to learn how to do this too!
Supplies used:
Miss Mustard Seed’s Milk Paint in Mora , Ironstone, Trophy
Toscana Milk Paint in Putting on the Ritz
Iron Orchid Paint Inlay, Melange
AHAH 1.5″ Natural Bristle Brushes
Step 1)
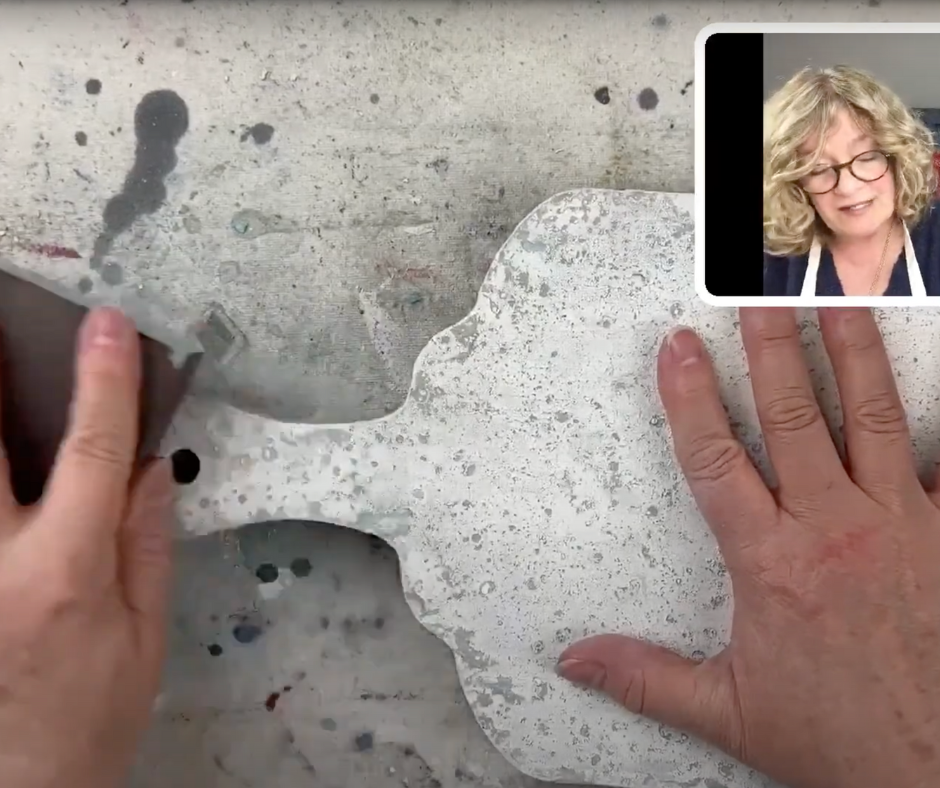
On one side of my cutting board there was an existing coat of Toscana Milk Paint that I had applied earlier. You can see it peeking out in the chippy finish in the darker side of my cutting board.
Step 2)
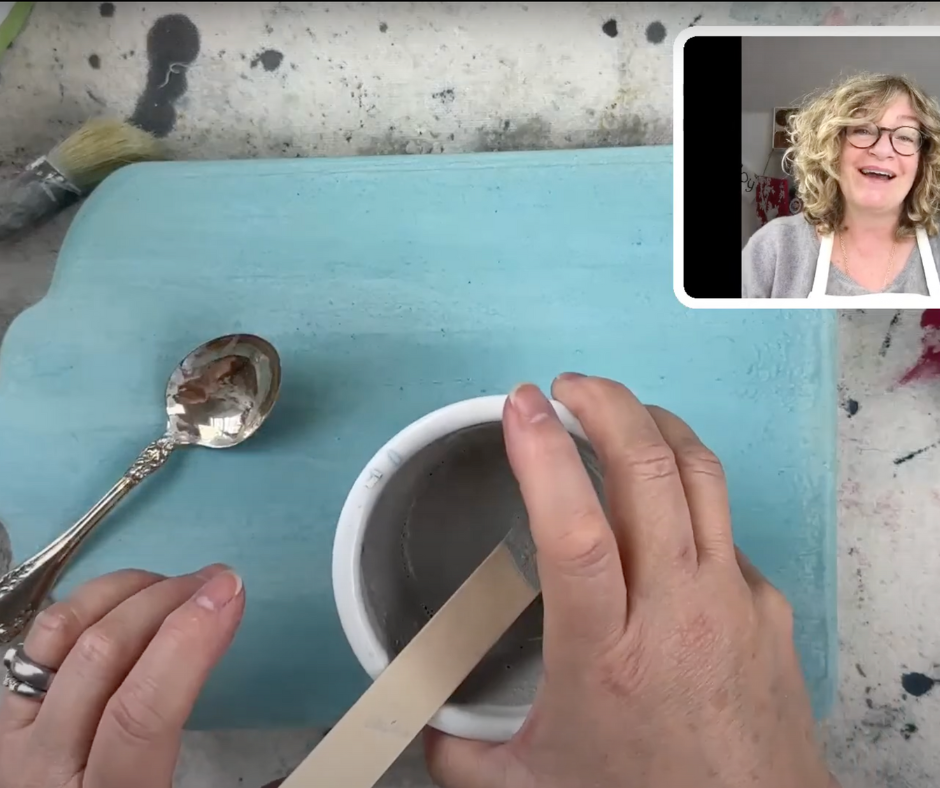
Mix your Miss Mustard Seed’s Milk Paints at lease an hour ahead of time before using. Here’s a tutorial on how to mix Miss Mustard Seed’s milk paint.
Step 3)
Using your small natural bristle brush pounce on the Ironstone or Mora mix (whichever you’re using as your base color), this is what creates a lot of texture! It’s helpful to have this base coat on the thicker side.
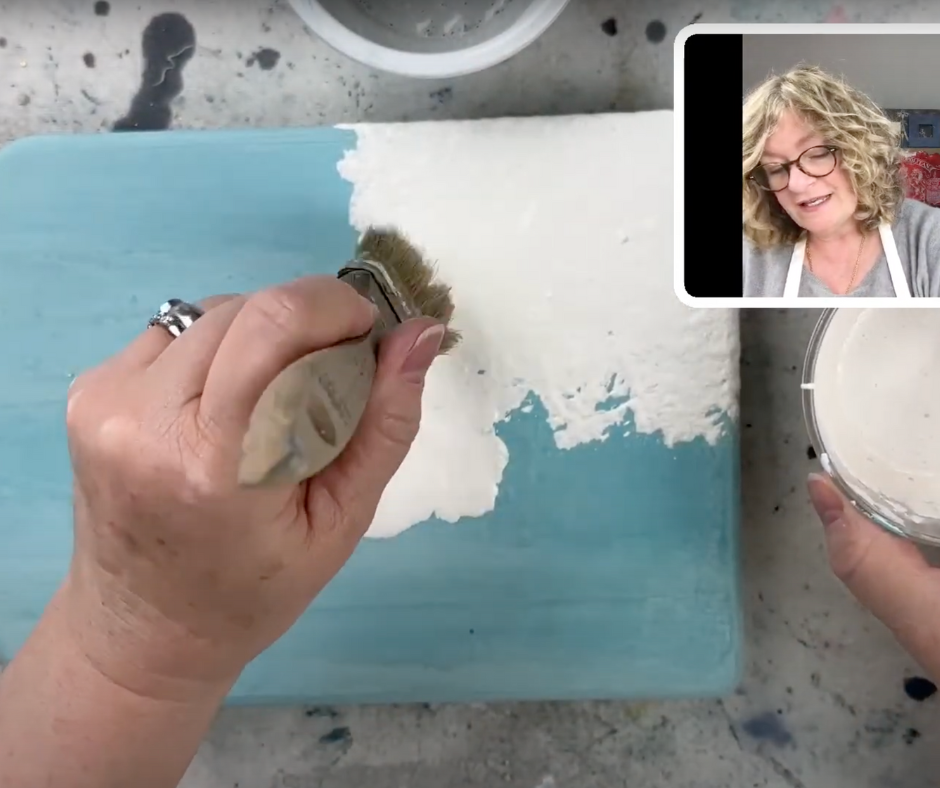
See the video tutorial below 👇
Step 4)
Let dry.
Step 5)
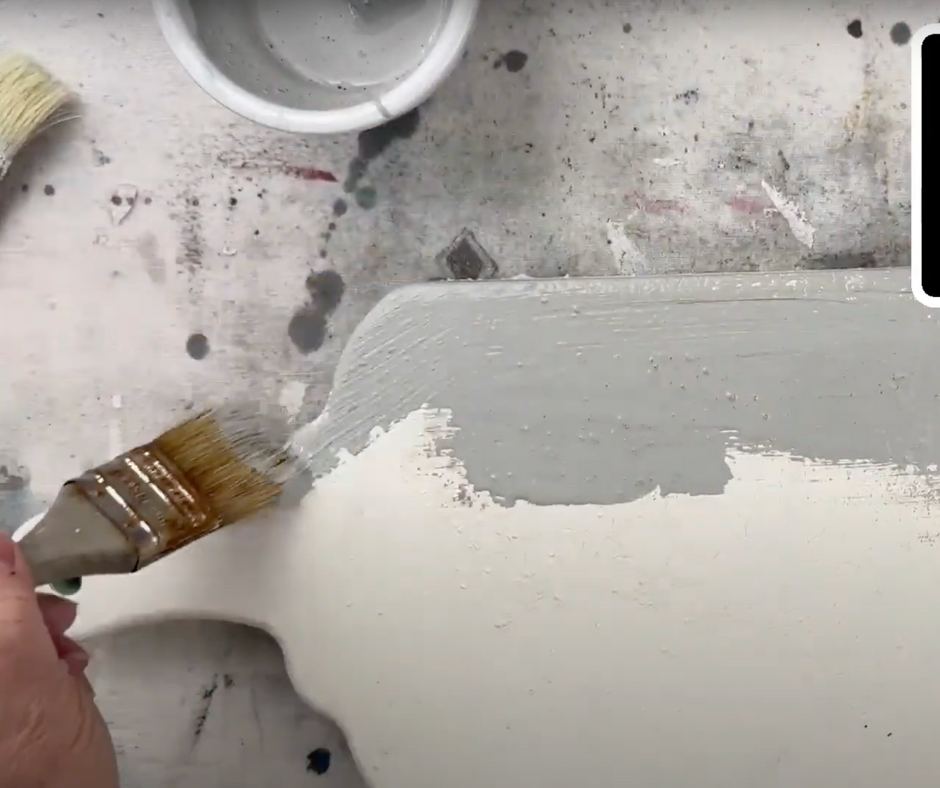
Using your small natural bristle brush apply a coat of either the Ironstone or Mora mix (whichever you’d like as your finish color). It’s helpful to have this final coat on the thinner side.
Step 6)
Let dry.
Step 7)
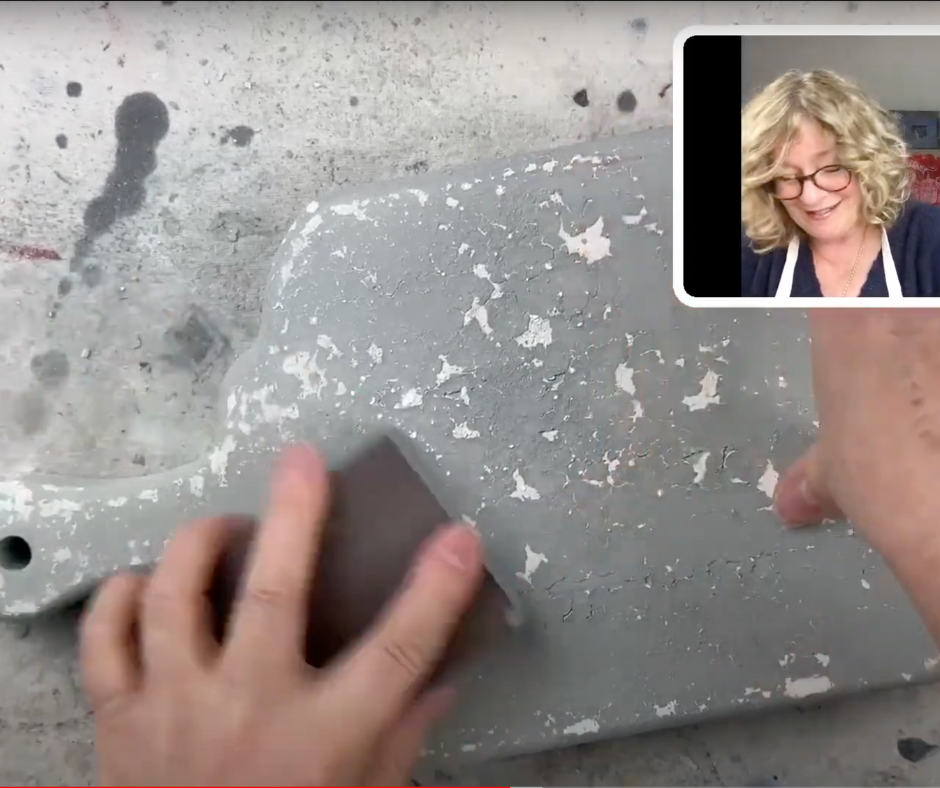
Using a fine to medium sanding block sand the paint to reveal texture. Though I used the same paints and colors just the ordered switched on the front and back of the cutting board the texture was very different! I love them both.
Step 8)
Wipe away all paint dust from sanding.
See the video tutorial below 👇
Step 9)
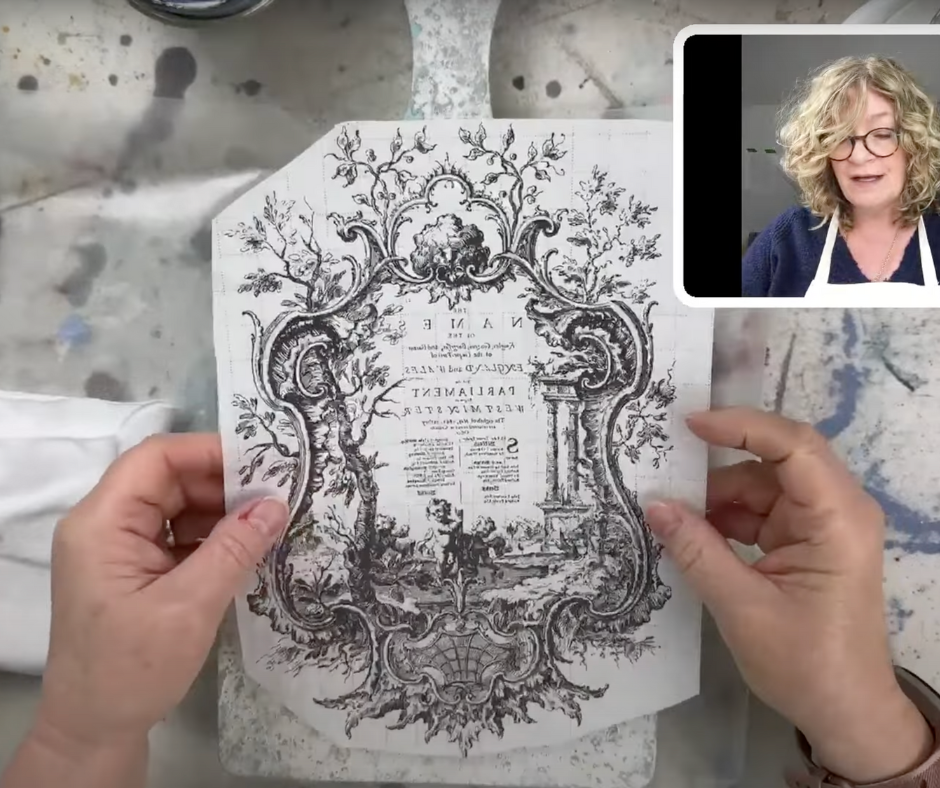
Get your Inlay ready by deciding which image you’re going to use and cutting it out to fit your board.
Step 10)
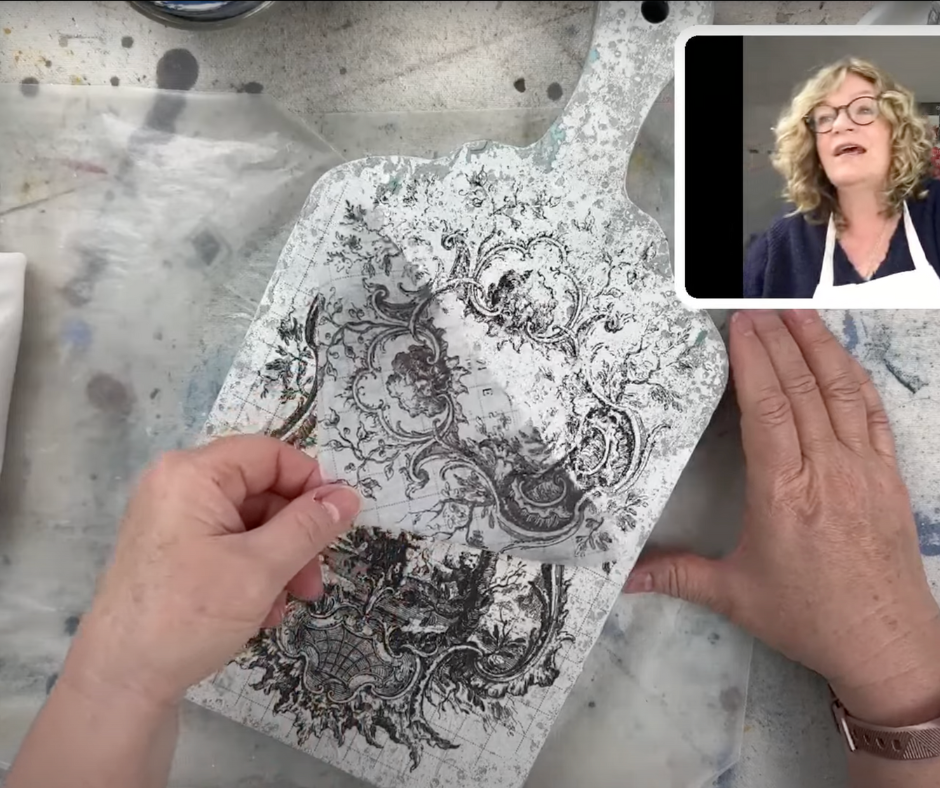
Apply a generous coat of AHAH Clear Sealer, immediately lay your Paint Inlay, GRID SIDE UP!, into the wet Sealer. Smooth with your fingers from the inside out. Using a brayer roll on Inlay to assure good contact. Finally, using a damp cloth, press over Inlay to further assure good contact.
Step 11)
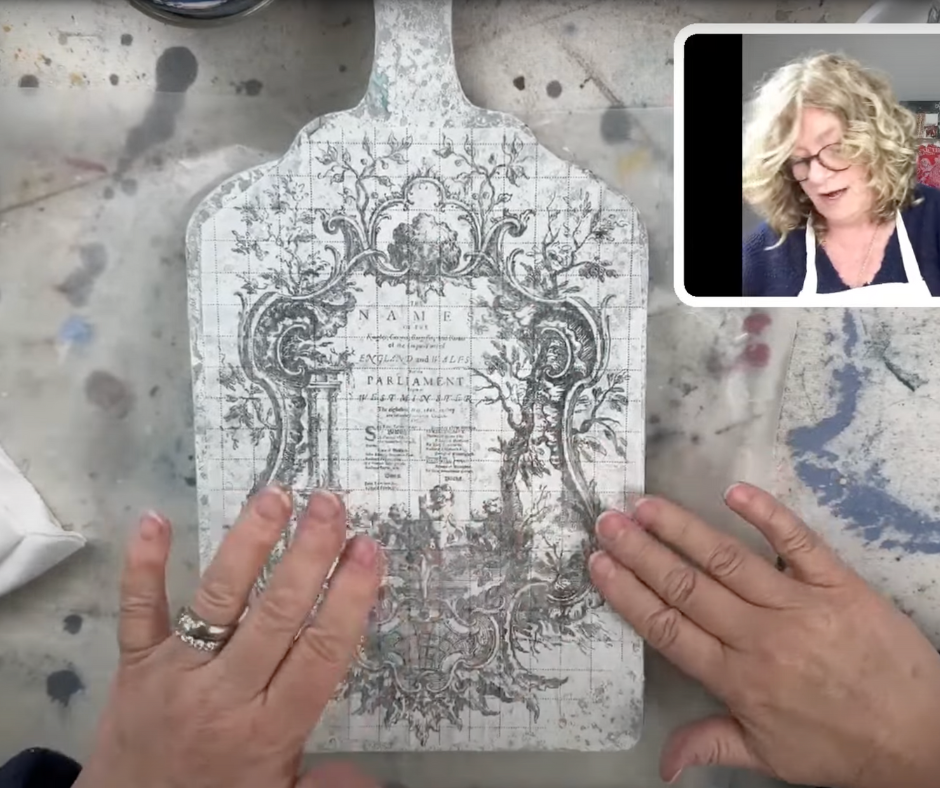
When the Inlay surface looks very cloudy and is no longer wet it’s ready to lift off. Using a misting bottle spray the Inlay with water. Press the Inlay with a damp cloth to fully saturate the Inlay. After 30 seconds starting at a corner lift the Inlay off.
Step 12)
Let Dry
See the video tutorial below 👇
Step 13)
Apply a final coat of AHAH Clear Sealer to finish the piece. Don’t go back and forth and overwork this step as you could smudge the Inlay.
Step 14)
Let dry and enjoy!
I showed you How To Make a Texture Infused Cutting Board with an IOD Paint Inlay and Miss Mustard Seed’s Milk Paint, any questions? Please ask in the comments!
This is a fun, and beautiful Cutting Board project that can be completed in just a few hours. I used Ironstone and Mora Milk Paints but you can use and colors you like to customize your board!
Be sure to browse my online store for all the supplies you need to get started. And if you have any questions, don’t hesitate to reach out to us. I would love to see what you create.
If this is the first time visiting my blog, welcome aboard – it’s always great seeing new faces around these parts 
If you love DIY be sure to check out these posts!
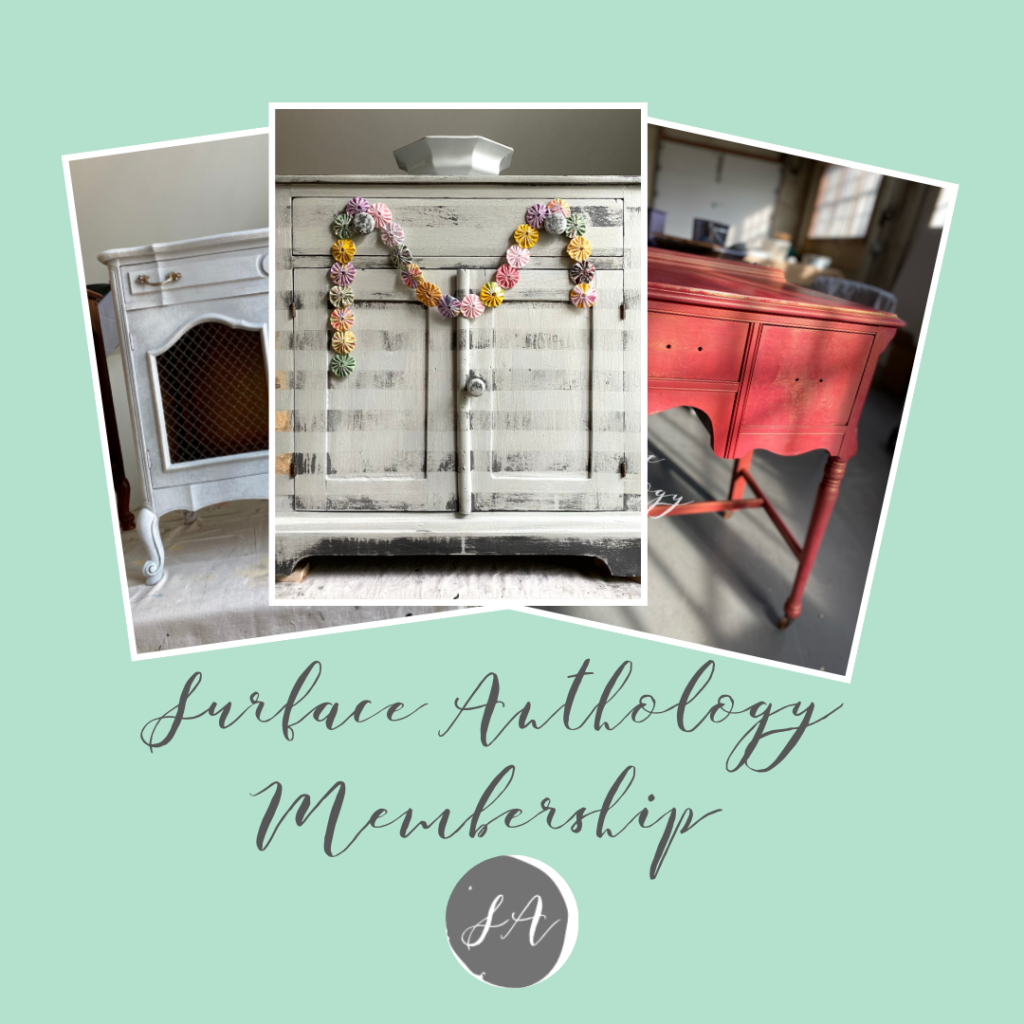
Do you love to paint and create beautiful finishes? Check out the Surface Anthology Membership  If you’d like to take your furniture painting skills to the next level join the Surface Anthology Membership and enjoy the perks, workshops, lives and more! Click here to learn more and join!
Xo, Jayne