
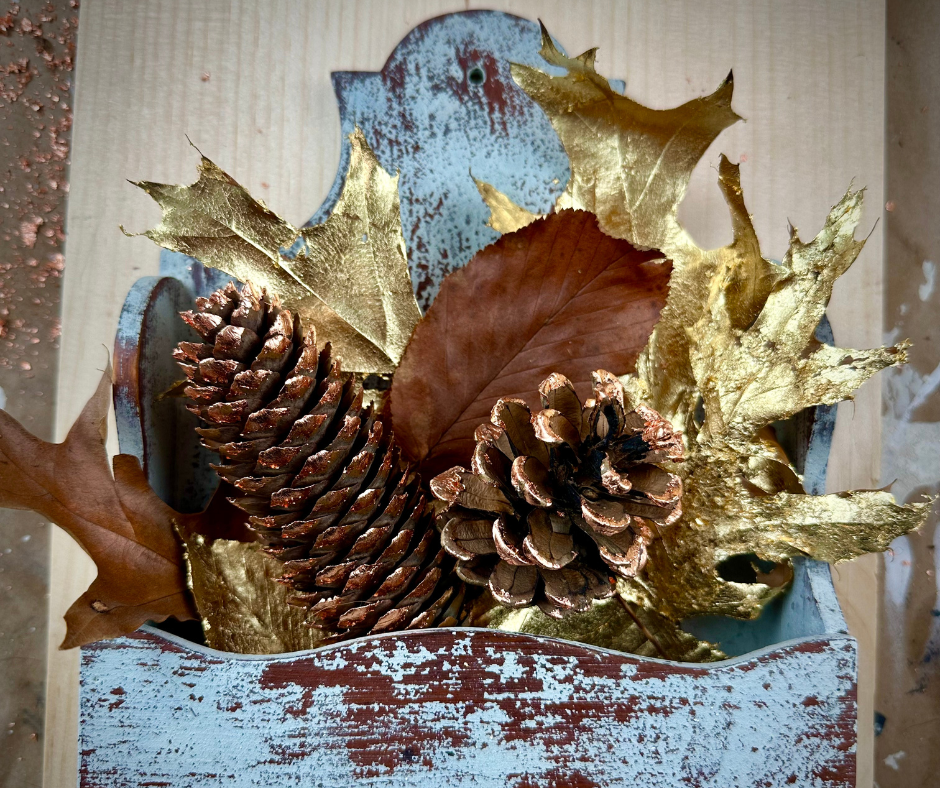
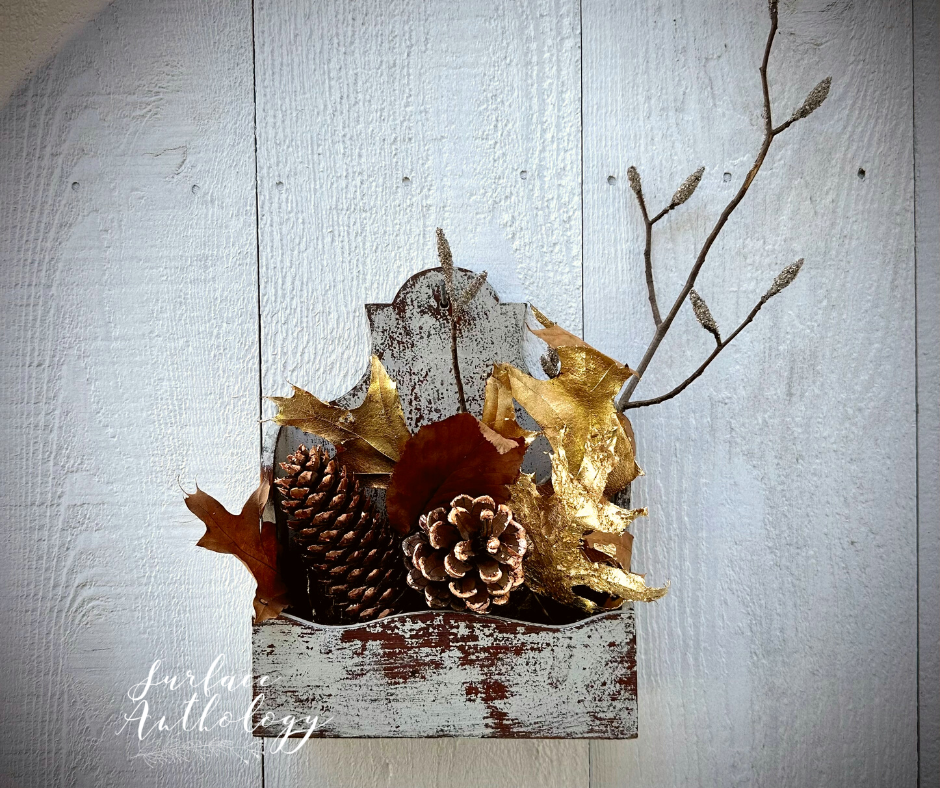
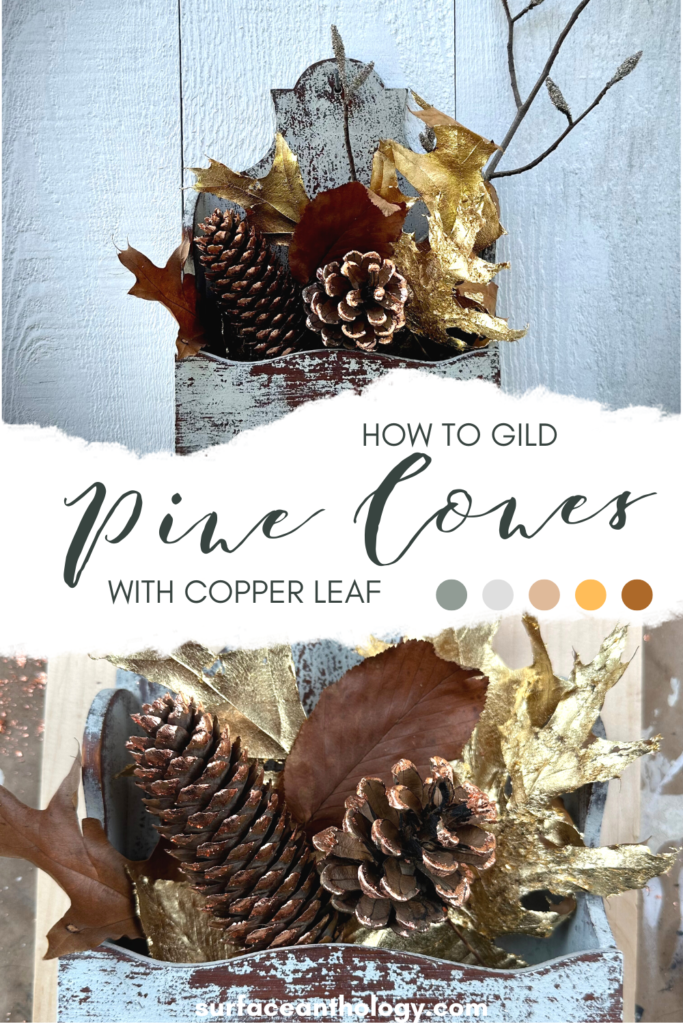
When Fall comes around I think of rich colors, texture and lots of sparkle. I grabbed some pine cones and gilded with copper leaf and created something beautiful. Here’s how to gild pine cones with copper leaf.
This is a very easy and quick Fall DIY. And for the lucky that have pine cones in their yard or somewhere close you won’t have to buy any!
Supplies used:
- Pine cones
- Copper leaf
- Natural bristle brush
- Size
- Small sea sponge
- Water
Step 1)
Clean your pine cones. After I collect pine cones in the wild I lay them out in the sun and this does a good job of getting rid of any insects. If you have pine cones with lots of sap you can lay them out on a parchment lined baking sheet about an inch apart and then put in a preheated 225 degree oven for about 15 minutes. I find most of the sap ‘melts’ off and what remains isn’t sticky.
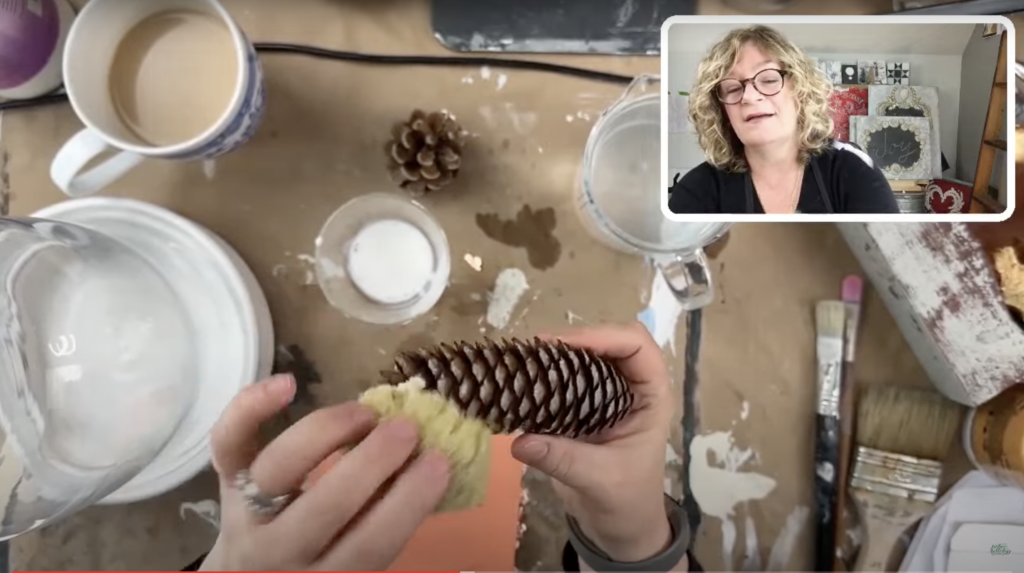
Step 2)
Apply the size. Size is the glue that’s used for gilding with copper/gold/silver leaf. I used a small sea sponge that I wet and then wrung out, then dipped in the size and pounced onto the pine cones. Let the size come to tack, that means that the size is no longer wet and milky and when you touch it it doesn’t come off on your fingers but feels sticky.
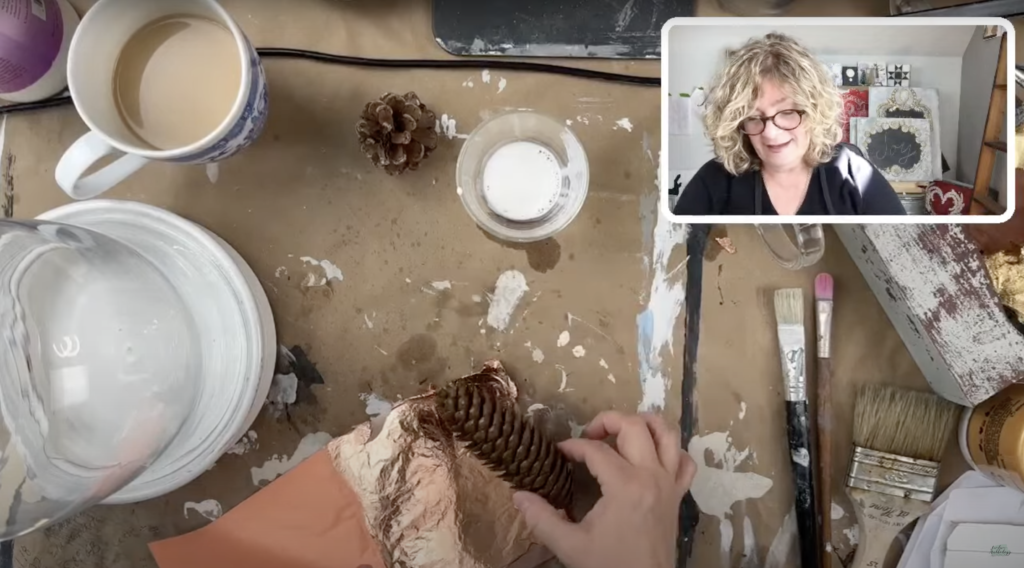
Step 3)
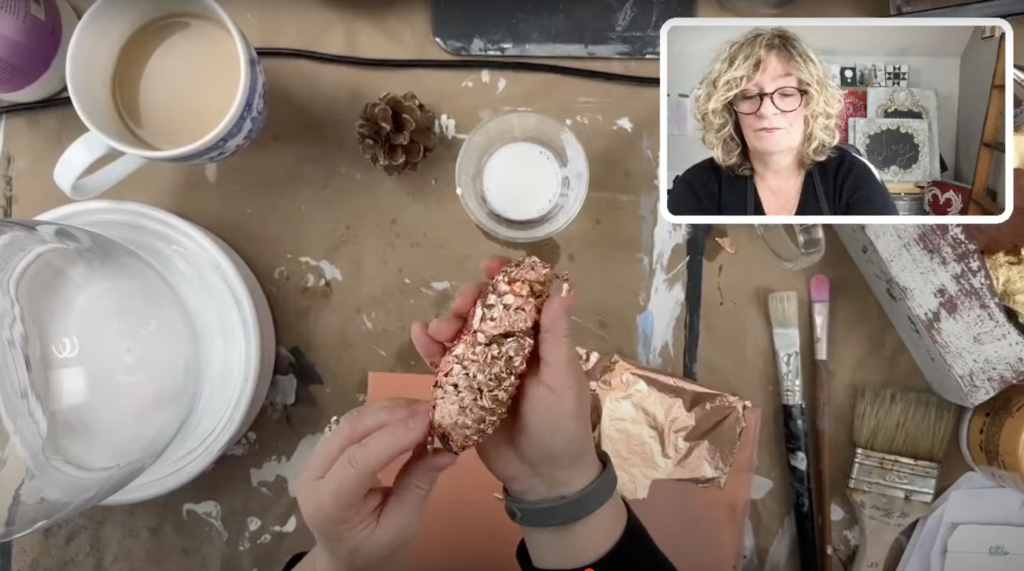
Time to gild the pine cones and apply the copper leaf. With clean hands open to a sheet of leaf and roll onto the pine cone. Burnish with your hands to get good contact.
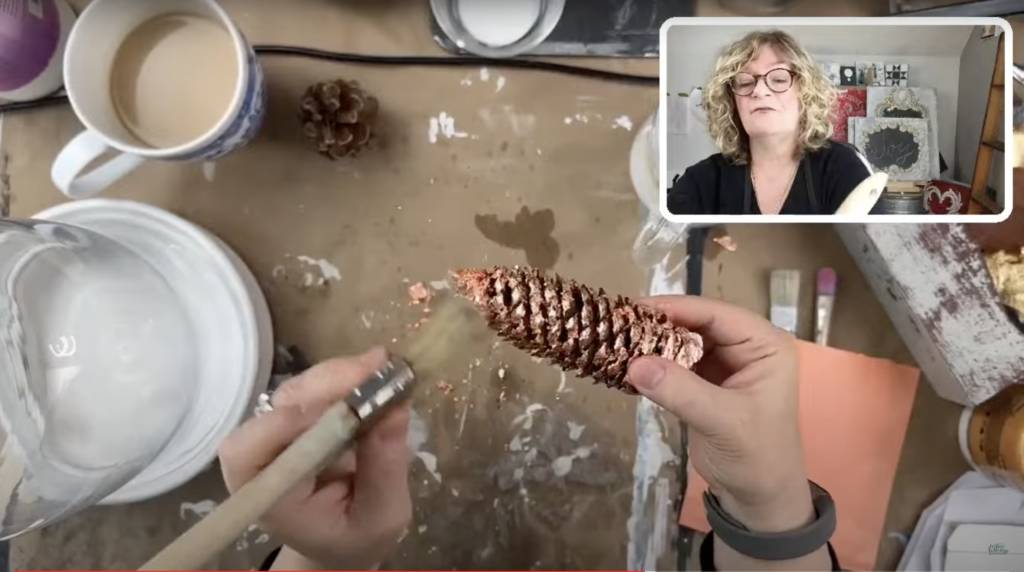
Step 4)
Brush off excess leaf using a clean natural bristle brush. And that’s all there is to it, enjoy! You can use these gilded pine cones in glass bowls, strung together as a garland and more!
You can watch the entire tutorial on my YouTube Channel 👇🏻
To learn how I gild leaves you can watch here 👇🏻
See how easy it is to gild pine cones? It’s time to get out, take a walk and collect pine cones!
This is a fun, easy and quick project that can be completed in just a few minutes. I used copper leaf to gild the pine cones but you can use gold or silver leaf and you can also gild leaves, branches, milk weed pods etc!
Be sure to browse my online store for all the supplies you need to get started. And if you have any questions, don’t hesitate to reach out to us. I would love to see what you create.
If this is the first time visiting my blog, welcome aboard – it’s always great seeing new faces around these parts 
If you love DIY be sure to check out these posts!
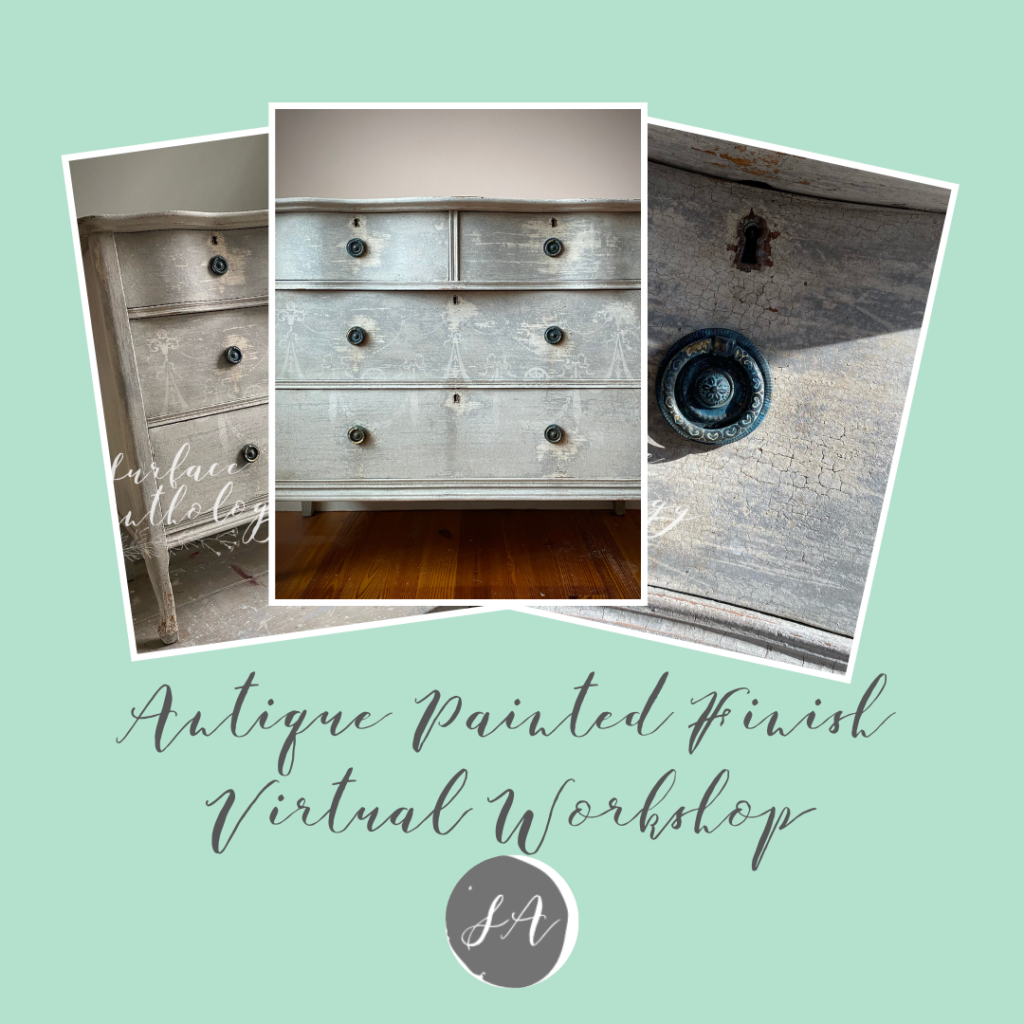
Did you spy that wooden wall pocket sporting that chippy-good Milk Paint finish? That’s a technique that we learned in the Surface Anthology Membership ❤️ If you’d like to take your furniture painting skills to the next level join the Surface Anthology Membership and enjoy the perks, workshops, lives and more! Click here to learn more and join!
XO, Jayne


8 Responses
I watched your YouTube on this! I’m definitely going to try it!
Yay! Let me know how it goes 😊
These are beautiful! Thanks for sharing on Crafty Creators. I’ll be featuring them on tomorrow’s party. If you stop by & let me know in the comments if you’re following me on social media, I’ll feature you there as well. You can also grab your “I was featured” button if you’d like. Have a great week!
Good luck.
Your pinecones and leaves are gorgeous, I’m sharing this post this evening on All About Home Link Party. Thanks so much for coming by and joining in!!
Thank you so much Debra! So excited to be shared on your Link Party 😊
LOVE this awesome DIY, Jayne! We will be featuring you starting Wednesday at the Creative Crafts Linky Party! Pinned and shared
Creatively, Beth
Thank you Beth! And thank you for featuring me along with those very talented creatives!