
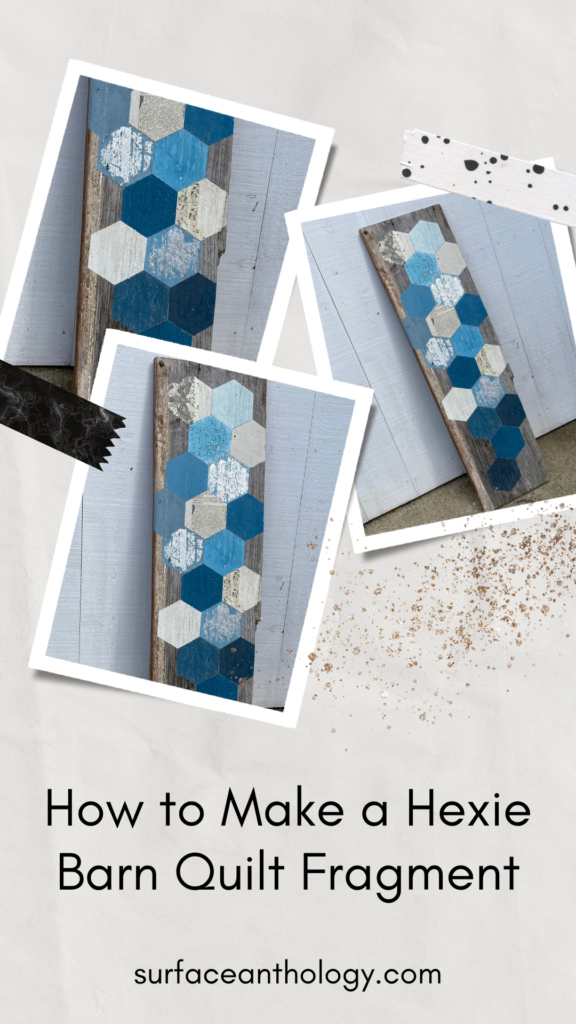
I was driving around a while back when I spotted a pile of antique wood trim by the side of the road. It was in great condition and I knew it would be perfect for our house. So I made my husband pull over and we loaded as much as we could into the car. After staring at all those gorgeous chestnut boards I decided to make a Hexie Barn Quilt with one of them.
These types of old boards are hard to come by, so I was thrilled to find them. They’re so beautiful and add so much character to a space.
I love barn quilts!
I made a very large one and have it hung on the outside of my home. They are so charming and add a lot of interest to any landscape. I also like the challenge of making them myself. In this post, I’m going to show you how to make a hexie barn quilt on an antique board. It’s simpler than it looks and really adds a unique touch to your home. Let’s get started!
Here’s a list of the supplies I used:
- Antique Chestnut board
- Milk paints, MMS Flow Blue, MMS Farmhouse White and AHAH Cote D’ Azure
- Silver leaf
- Size
- Frog Tape
- hexie template
- Ruler
- Pilot Fixion Pen
- Decoupage paper
- Decoupage medium
Step 1)
If your board is really wonky, draw a straight line to follow and keep your design straight.
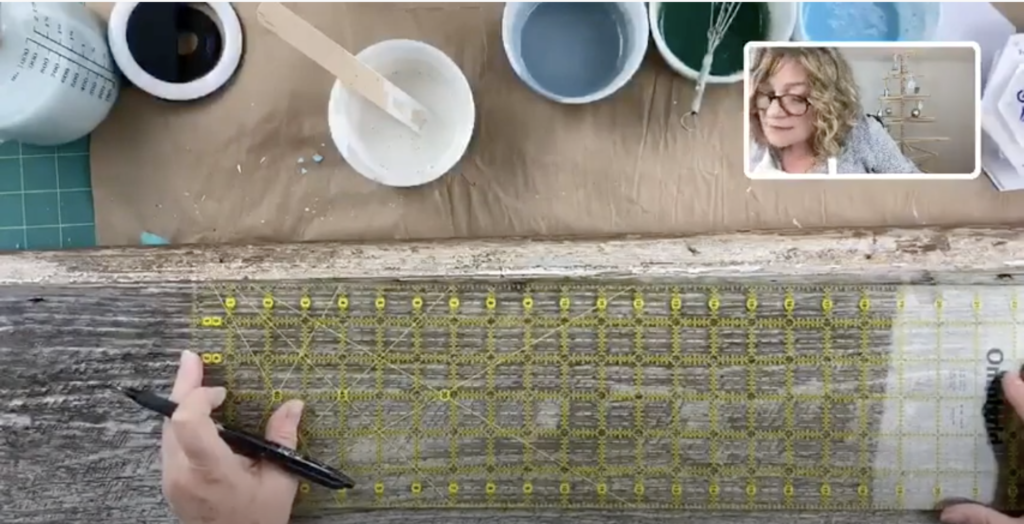
Step 2)
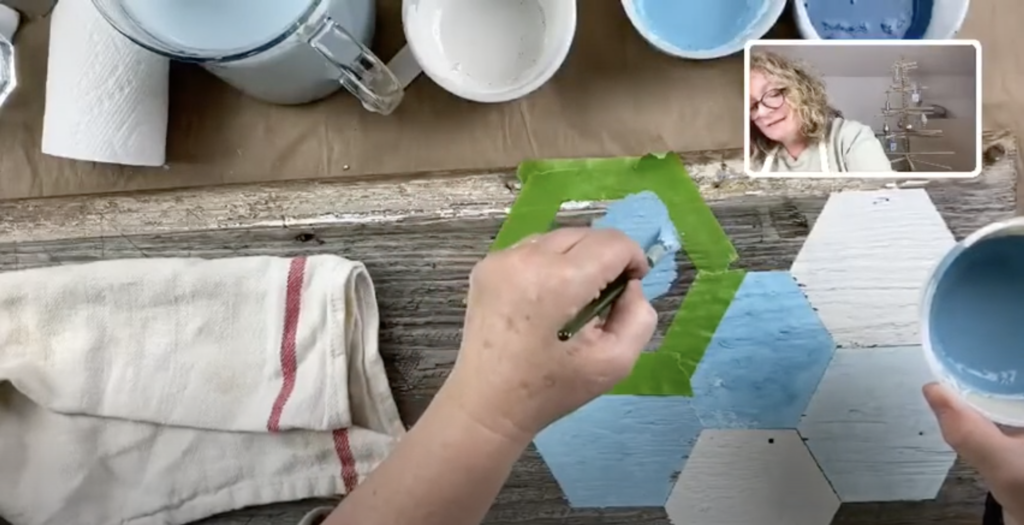
Line up an edge of your hexie template to the line you drew on the board and trace around it. Aligning the template as you move it continue to trace around it as your barn quilt design warrants.
Here’s a video tutorial 👇🏻
Step 3)
Mix up your Farmhouse White, Flow Blue and Cote D’azur milk paints.
Here’s how to mix milk paint 👇🏻
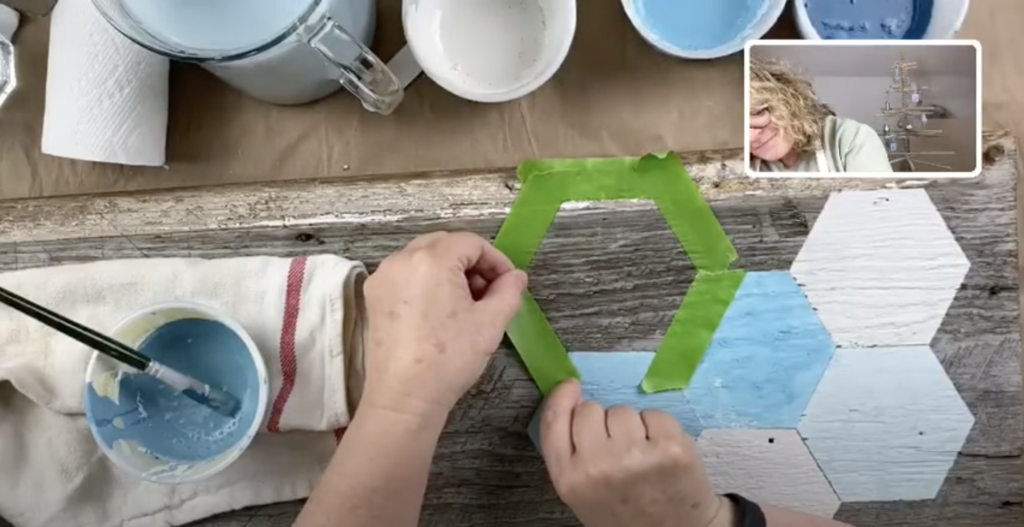
Step 4)
Tape out a hexagon, being sure to burnish the tape down to minimize bleeding.
Here’s a video tutorial 👇🏻
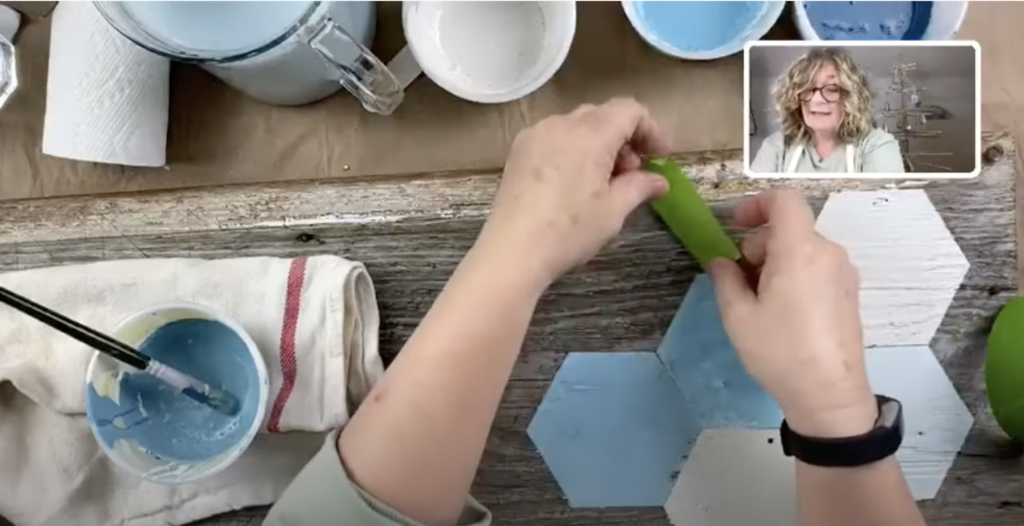
Step 5)
Begin painting your hexies. Tape them out, paint them, if you want you can dry slightly with your blow dryer, this helps set the paint. Pull tape off at a 45 degree angle. As you paint your hexies mix your 3 different colors of milk paint in various shades of blue and white.
Step 6)
After covering your board in your hexie pattern choose a few to use silver leaf on. Pour out a small amount of size in a small bowl. Tape out the hexies you want to silver leaf. Dry brush on the size using a small natural bristle artist’s brush. Let it come to tack (not wet but sticky to the touch). Then lay down a sheet of silver leaf onto the tacky size and brush off excess.
Here’s a video tutorial 👇🏻
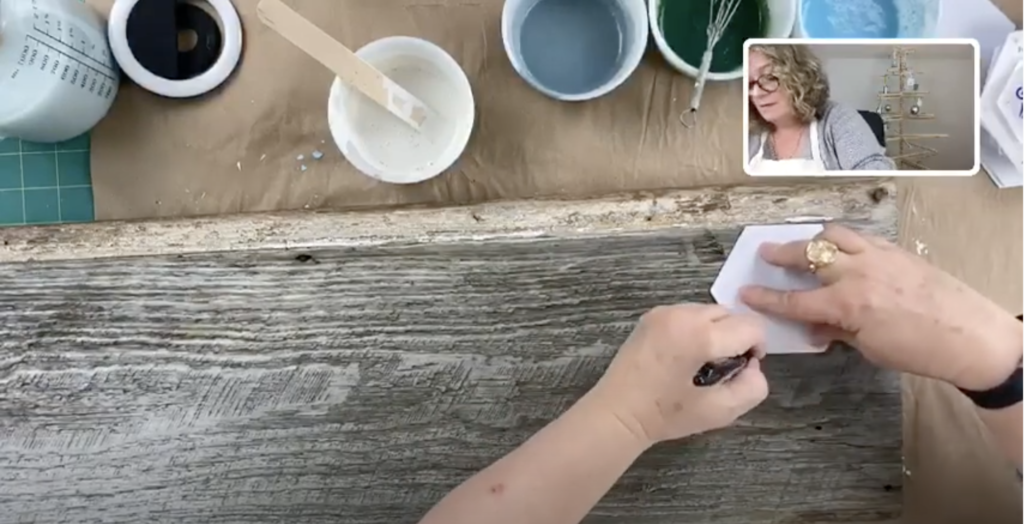
Step 7)
Time to decoupage. I chose to decoupage a part of a hexie shape. I used my hexie template to cut out a section of the decoupage paper I wanted to use. Brush on the decoupage medium where you want your tissue, apply the tissue to that area and then brush on top of the tissue with more decoupage medium, let dry.
Here’s a video tutorial 👇🏻
Step 8)
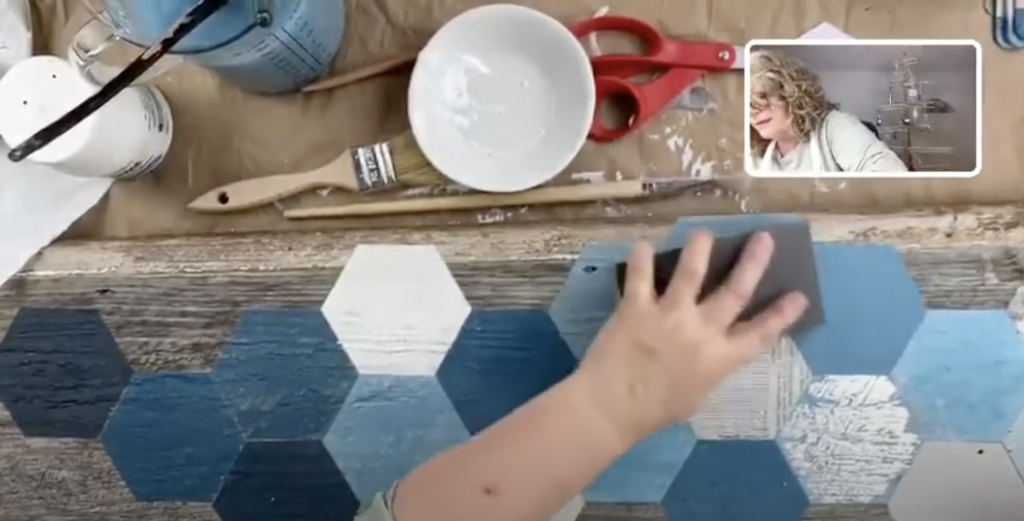
Use a sanding block to distress and you’re done!
Now that you’ve seen how to make a hexie barn quilt, it’s time to get started on your own! This is a fun and easy project that can be completed in just a few hours. I used milk paint, silver leaf and decoupage techniques to complete my barn quilt, but there are many other options available. Be sure to browse my online store for all the supplies you need to get started. And if you have any questions, don’t hesitate to reach out to us. I would love to see your finished project!
If this is the first time visiting my blog, welcome aboard – it’s always great seeing new faces around these parts 
If you love DIY be sure to check out these posts!
Jayne


4 Responses
What an interesting project! I hope I come across a pile of great wood. So lucky! Thanks for sharing on Crafty Creators.
Thanks Niki!