")
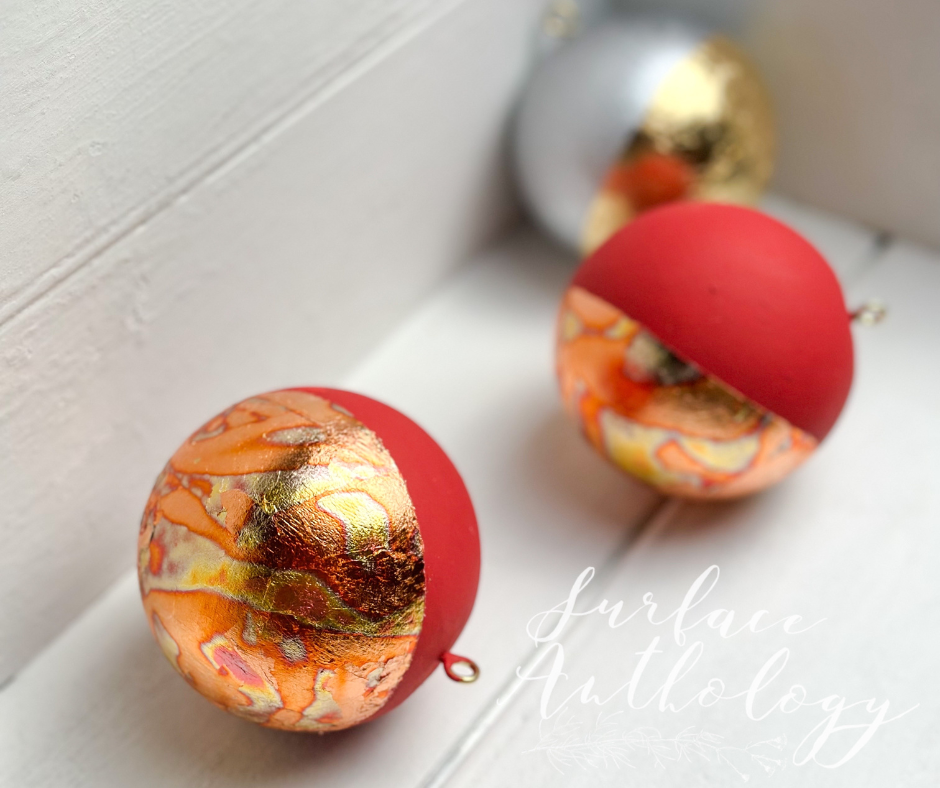
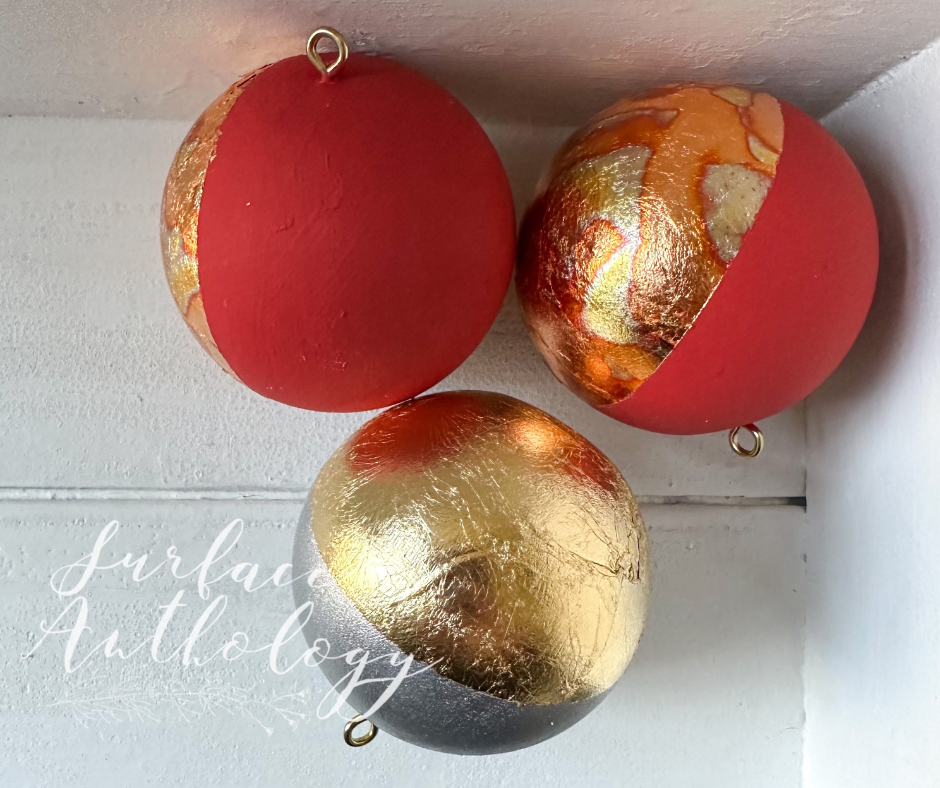
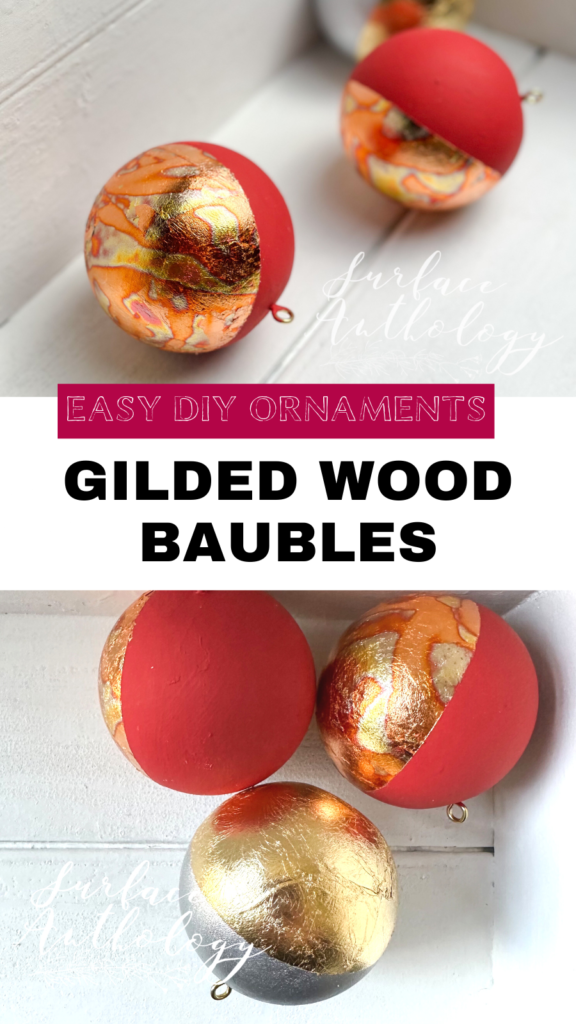
Bring on the glitz and glam for the holidays! I’ve created these ‘dipped’ gilded ornaments using solid maple wood balls, chalk and metallic paints and of course gold and copper leaf! Read on to learn how to make dipped gilded ornaments.
Here’s how I made these fun baubles.
Supplies used:
- Solid Maple Balls
- Eye Hooks
- Metallic Paint
- Chalk Paint
- Gilding Size
- Gold and Variegated Copper Leaf
- Clear Wax
- Frog Tape
- Wax Paper
Step 1)
Screw eye hook into an end of the wood ball.
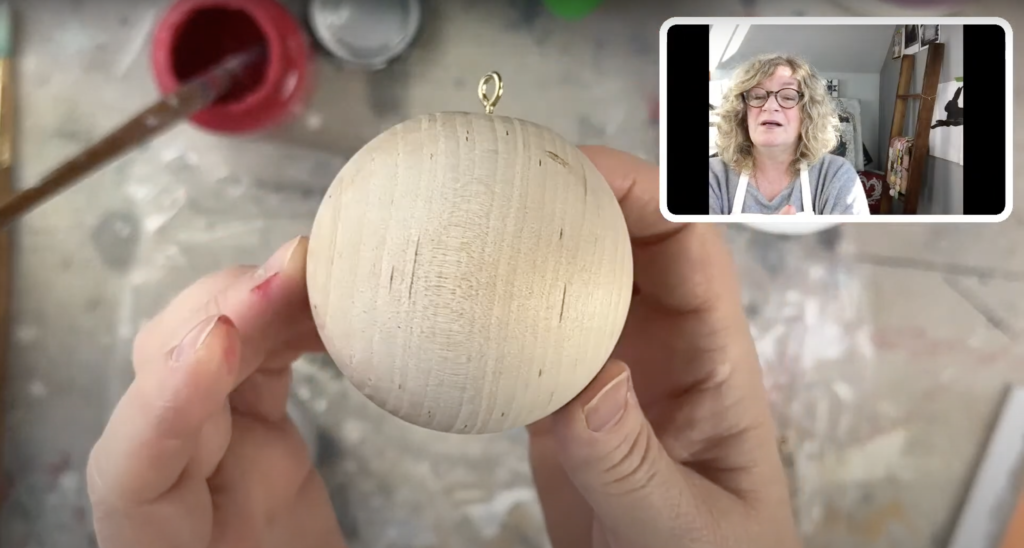
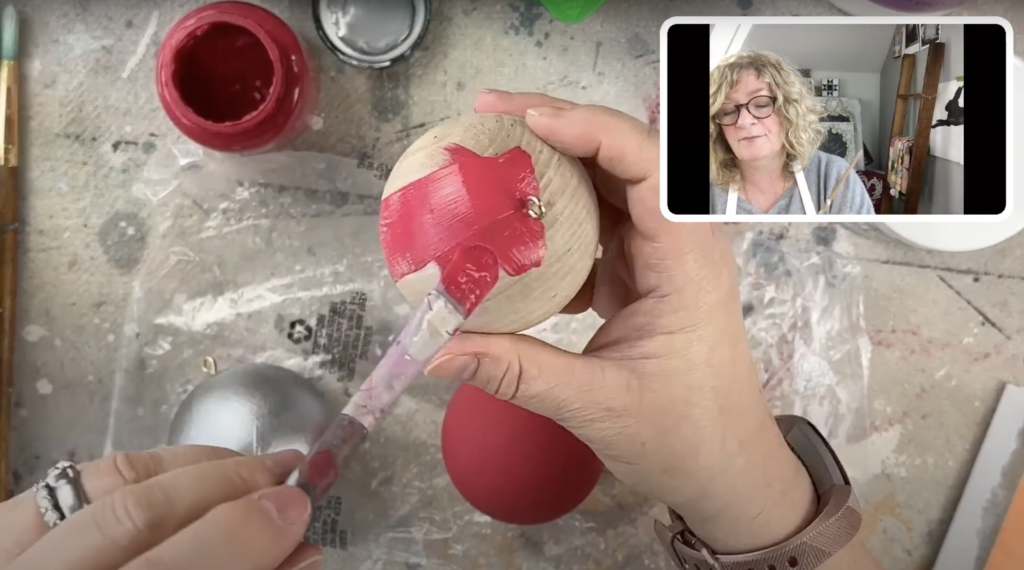
Step 2)
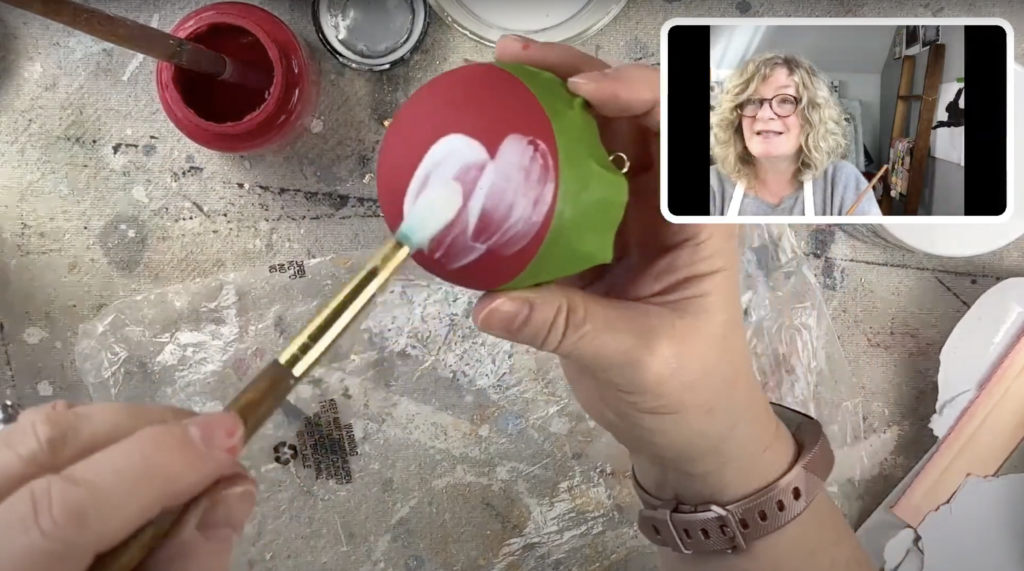
Paint some balls with 2 coats of the metallic paint and some with 2 coats the Chalk Paint. Be sure to dry between coats by putting the wood balls onto the wax paper, this stops any sticking while drying.
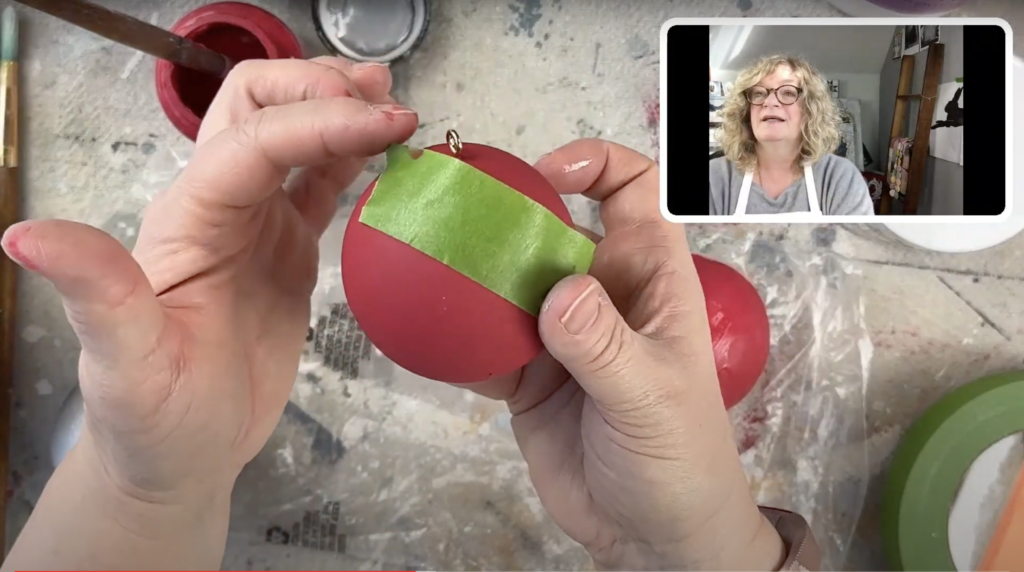
Step 3)
Take a longish piece of Frog tape and wrap around the wood ball. With your fingers burnish the edge of the tape so you don’t get any leaking.
Step 4)
Paint on the Gilding Size and let come to ‘tack’. This is when the size is not longer wet and milky looking and when you touch it it feels tacky but does not come off on your finger.
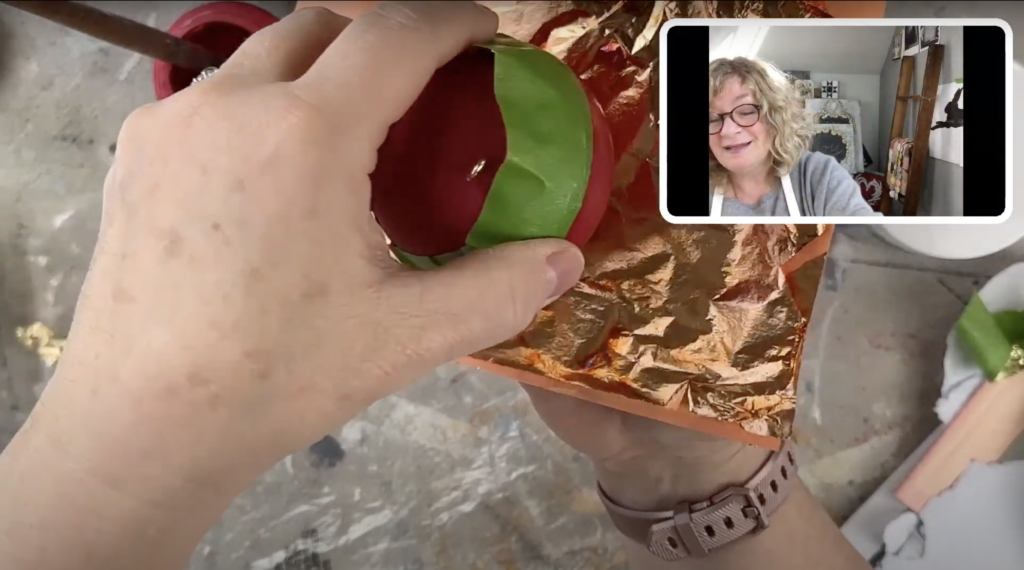
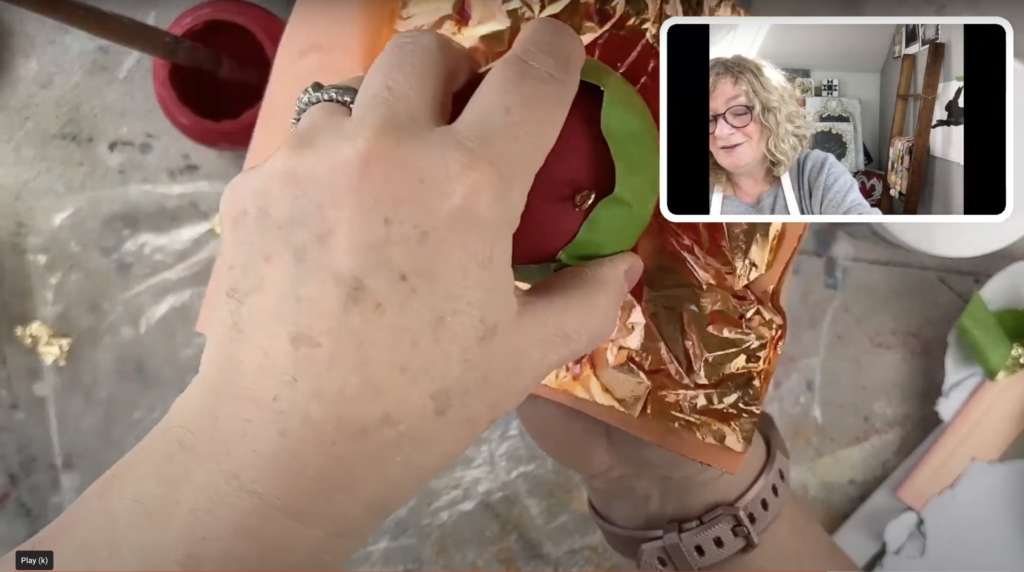
Step 5)
Open your book of gilding to a gold or copper sheet and apply to the tacky size and burnish down with your fingers. Remove the Frog tape by pulling off at a 45 degree angle.
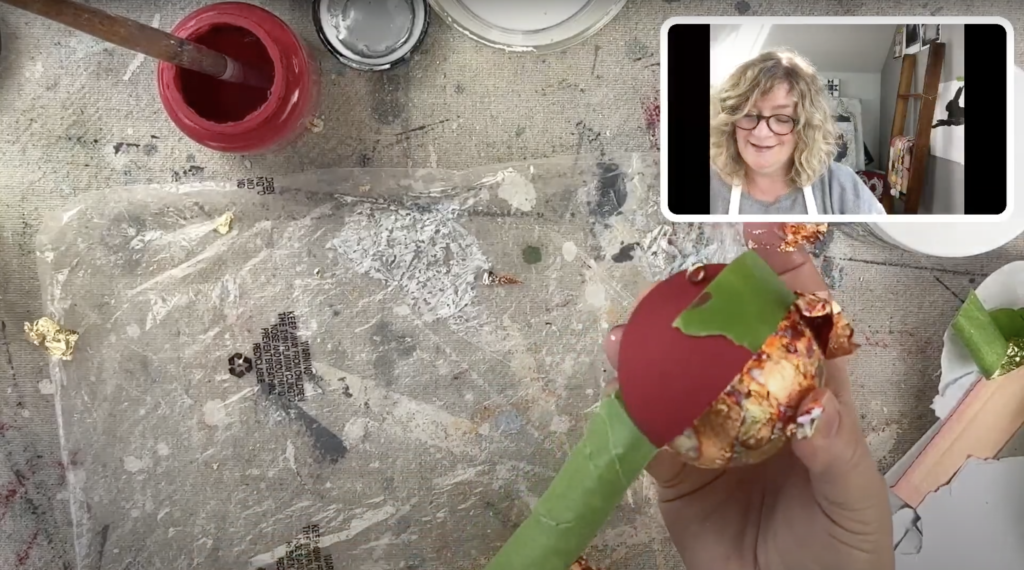
Step 6)
For your chalk painted dipped gilded ornaments apply a light coat of clear wax and buff when dry.
Step 7)
Enjoy!
Watch the full video tutorial here 👇🏻
See how easy it is to make dipped gilded ornaments?
This is a fun, easy and quick project that can be completed in just a few minutes. I used variegated copper and gold leaf to gild the dipped gilded ornaments but you can use silver leaf too!
Be sure to browse my online store for all the supplies you need to get started. And if you have any questions, don’t hesitate to reach out to us. I would love to see what you create.
If this is the first time visiting my blog, welcome aboard – it’s always great seeing new faces around these parts 
If you love DIY be sure to check out these posts!
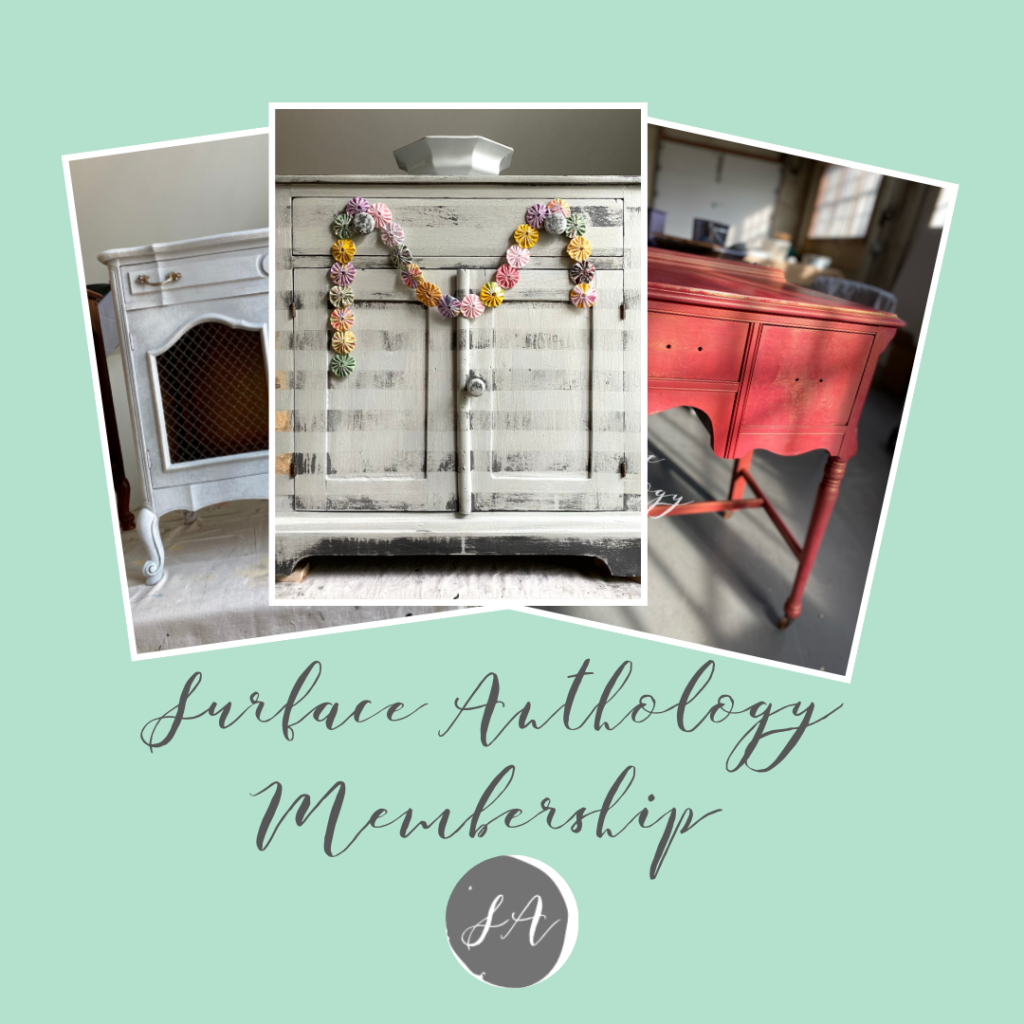
Did you spy that wooden wall pocket sporting that chippy-good Milk Paint finish? That’s a technique that we learned in the Surface Anthology Membership  If you’d like to take your furniture painting skills to the next level join the Surface Anthology Membership and enjoy the perks, workshops, lives and more! Click here to learn more and join!
Enjoy!
Xo, Jayne


2 Responses
Wow, are these dipped Christmas ornaments ever glam! And so unique! The fact that no two would ever be identical is pretty cool!
Thank you Donna! They’re a lot of fun to make and look beautiful hanging from a tree with lots of lights!