")
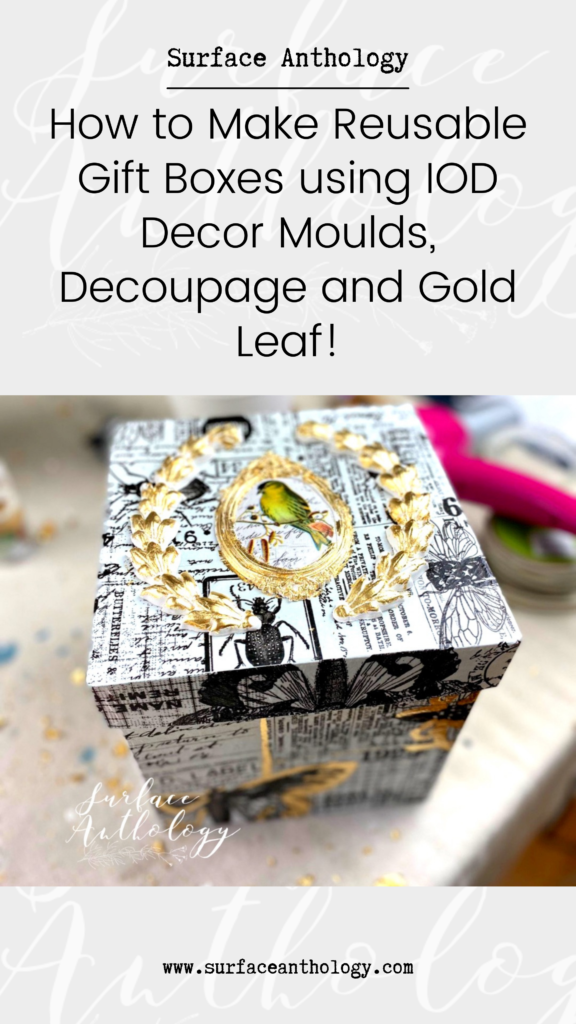
Hi everyone! I hope you’re enjoying a wonderful holiday season. I wanted to show you how I make reusable gift boxes.
This is by far one of my favorite things to make at the holidays. I love to see them stacked under my Christmas tree. And when you show up with a hostess gift in a gorgeous handmade box watch their eyes light up!
Here’s how you can make your own:
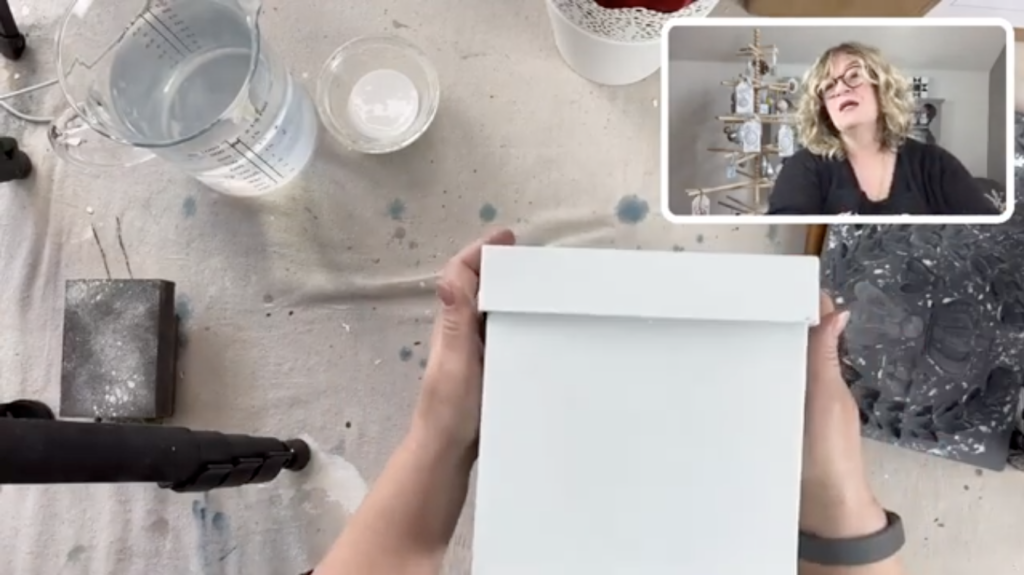
Step 1. Paint a paper mache box and lid with chalk paint in your choice of color and let dry completely.
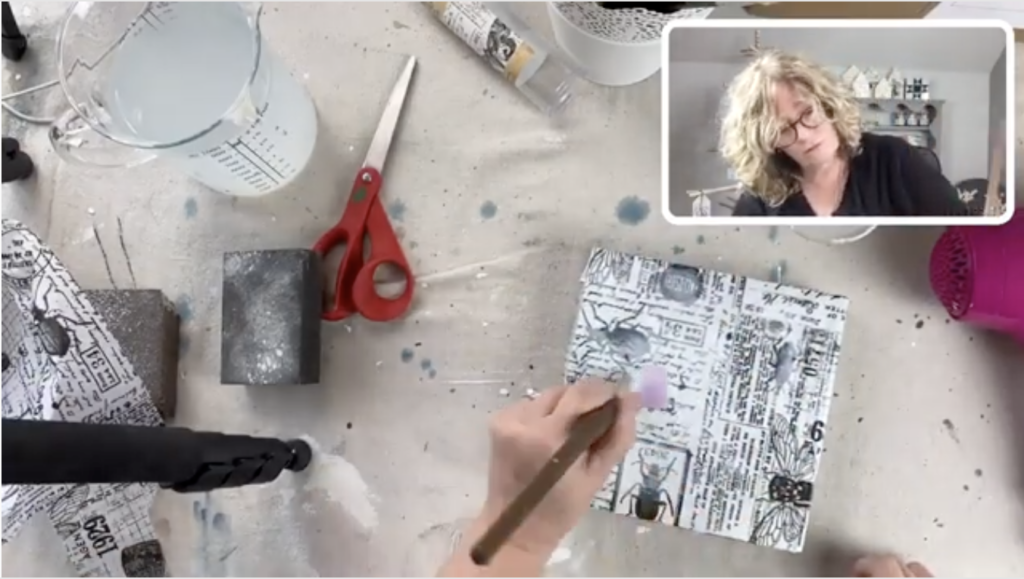
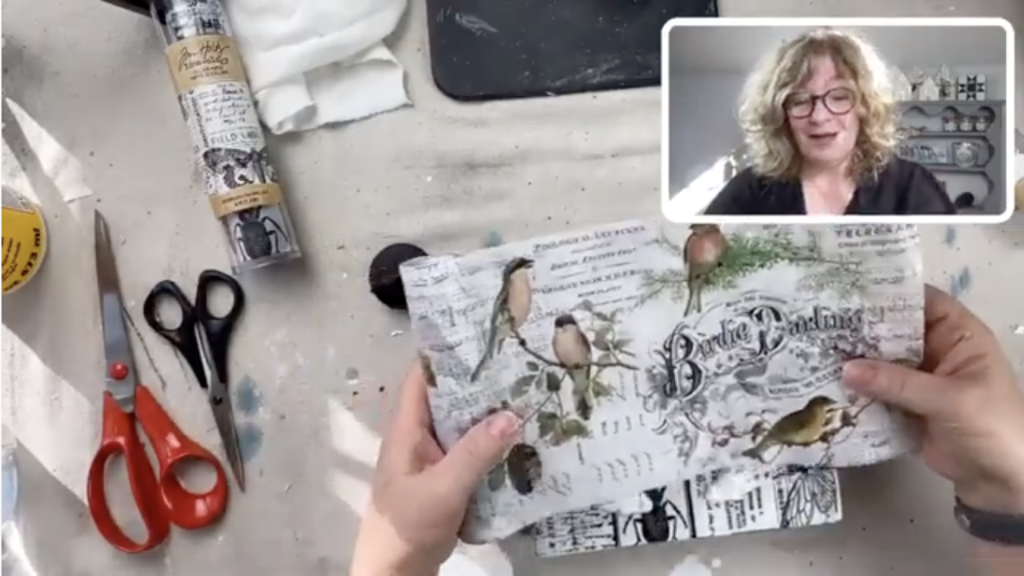
Step 2. Decoupage the outside of the box by applying a coat of decoupage medium like ModPodge Matte to the entire box, with your fingers smooth down the decoupage tissue into the ModPodge and then apply a final coat of ModPodge over the tissue. I used this decoupage tissue. Let dry completely.
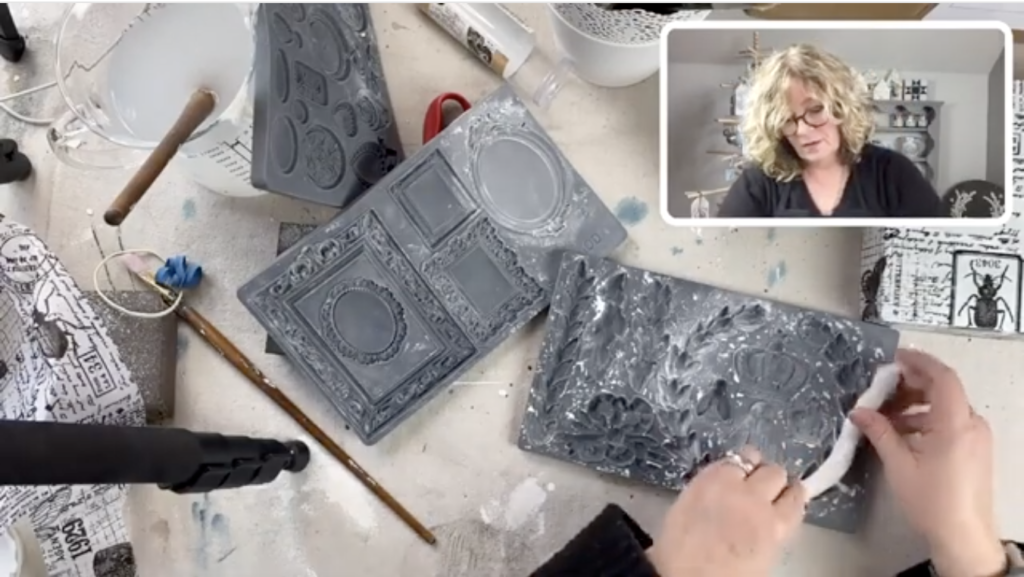
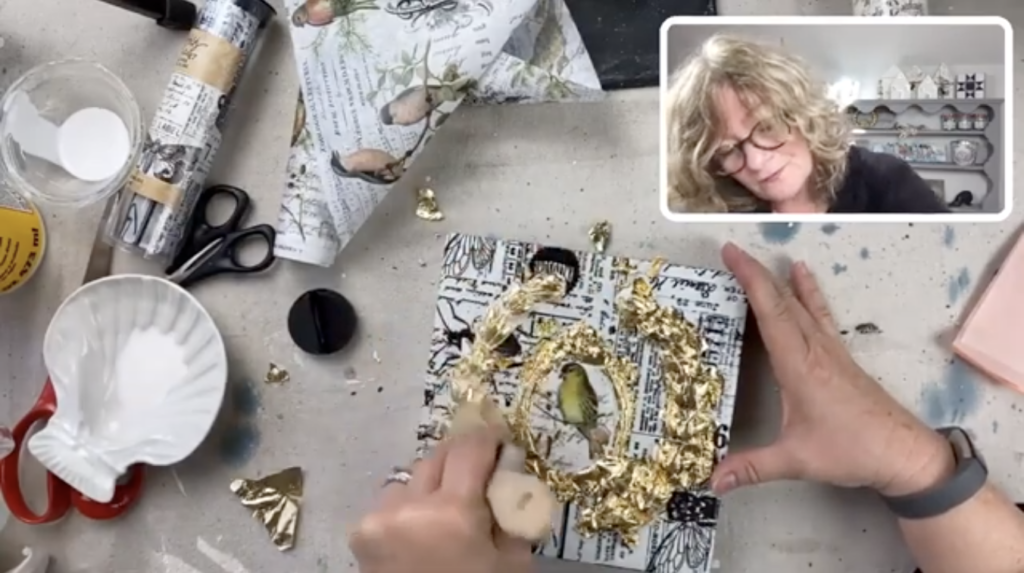
Step 3. Make your IOD Decor Moulds by brushing some corn starch inside of the mould (this keeps the clay from sticking). Grab some clay and push into the mould. Using a plastic credit card removes any extra clay. To easily remove your mould, bend the mould and gently pull out your mould. Glue moulds (while they are still wet to the top lid in a pleasing design, I use Aleene’s Tacky Glue. I used these IOD Moulds, Frames and Cameos and IOD Air Dry Clay in my design.
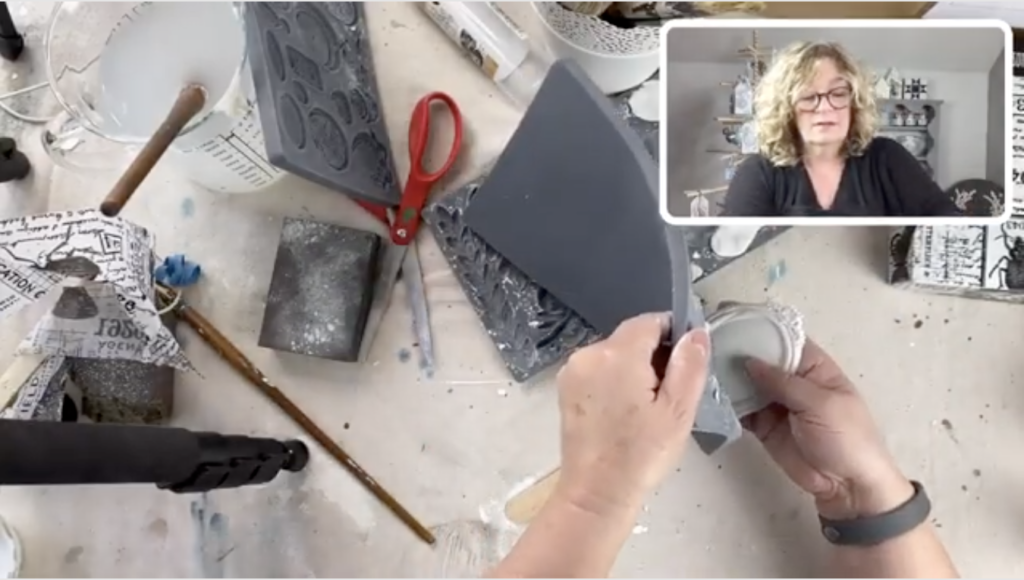
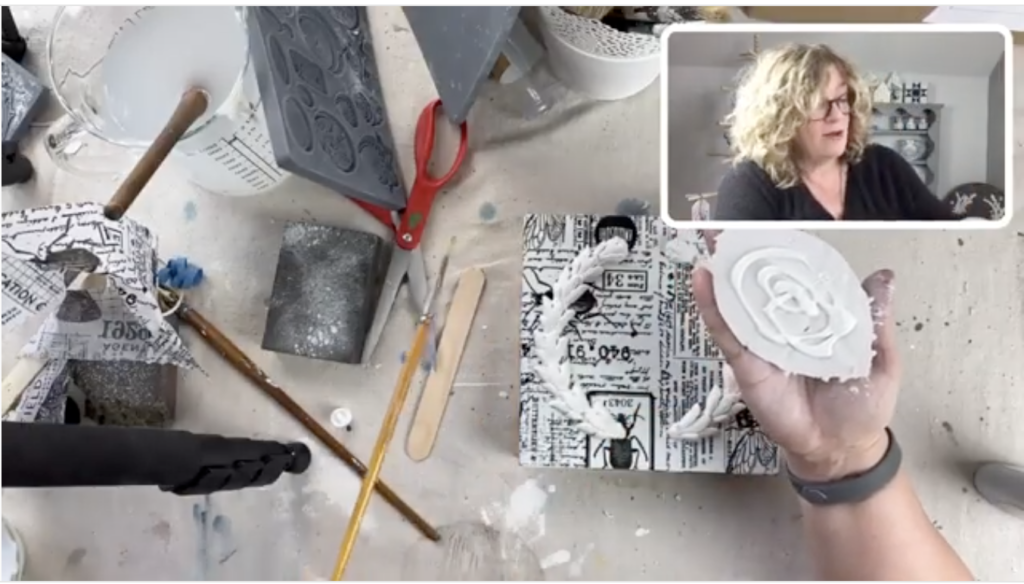
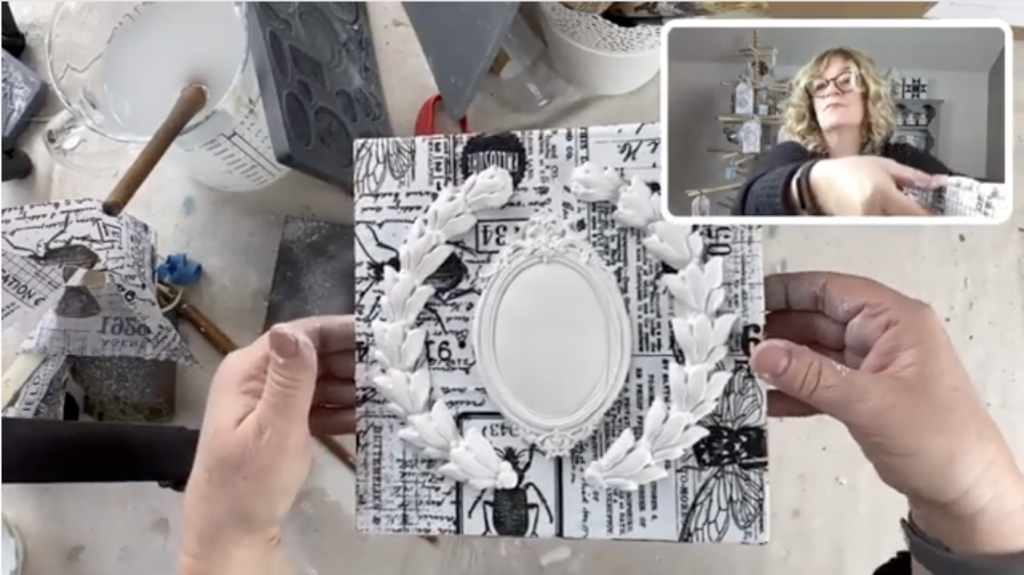
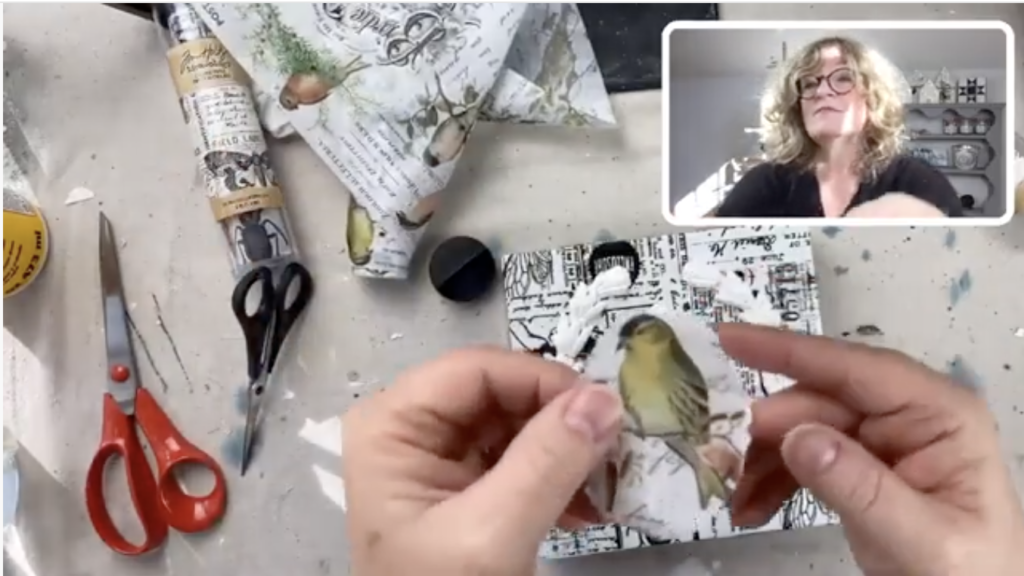
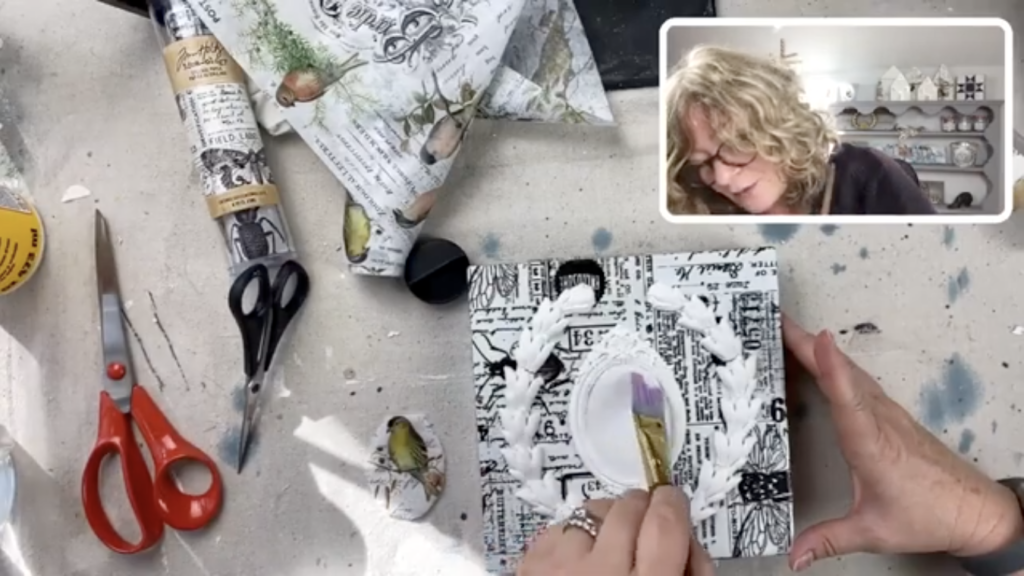
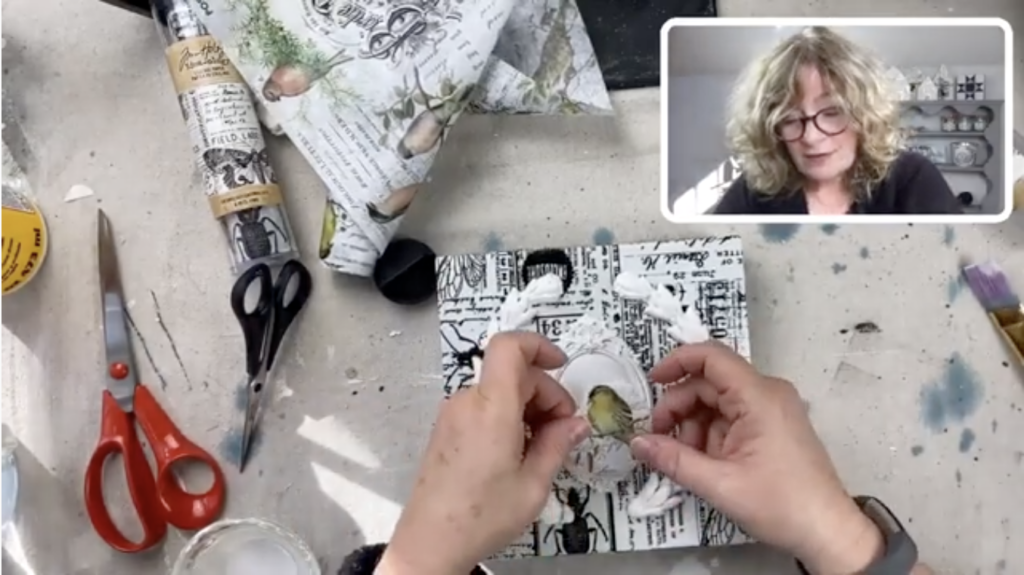
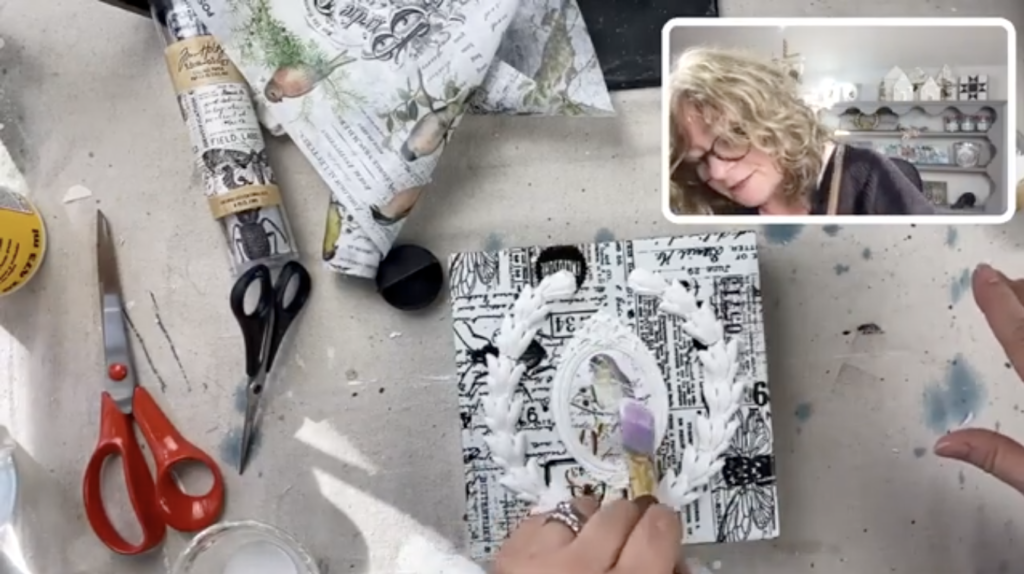
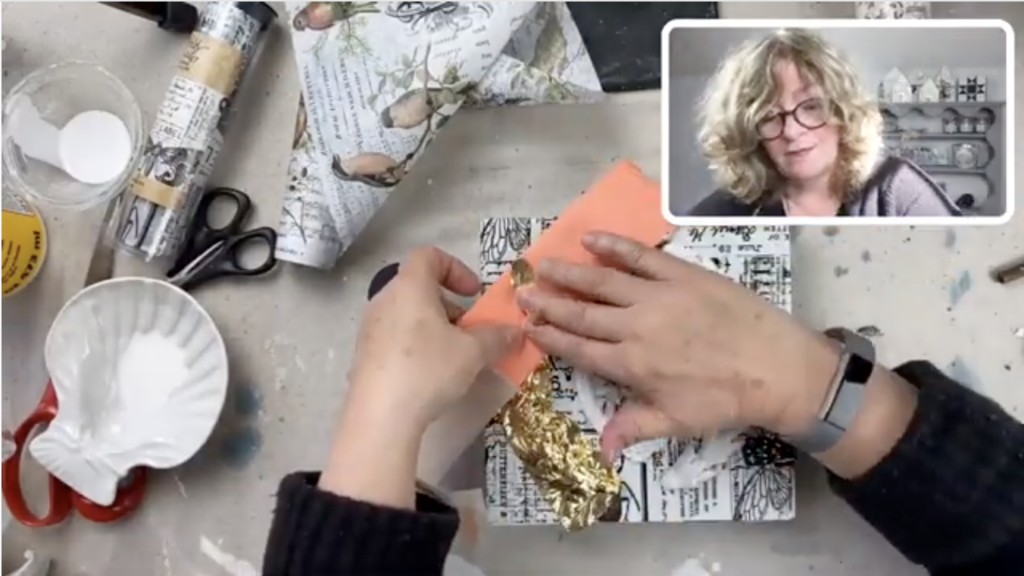
Step 4. Decoupage onto the middle of the Frames Mould. First select an area of the tissue you want on your mould. Tear around the design (don’t cut as this gives a harsh edge). Then brush the decoupage medium like ModPodge Matte onto the now dry mould and place your tissue piece down into the ModPodge and smooth out with your fingers. Then brush a coat of ModPodge over the tissue to seal.
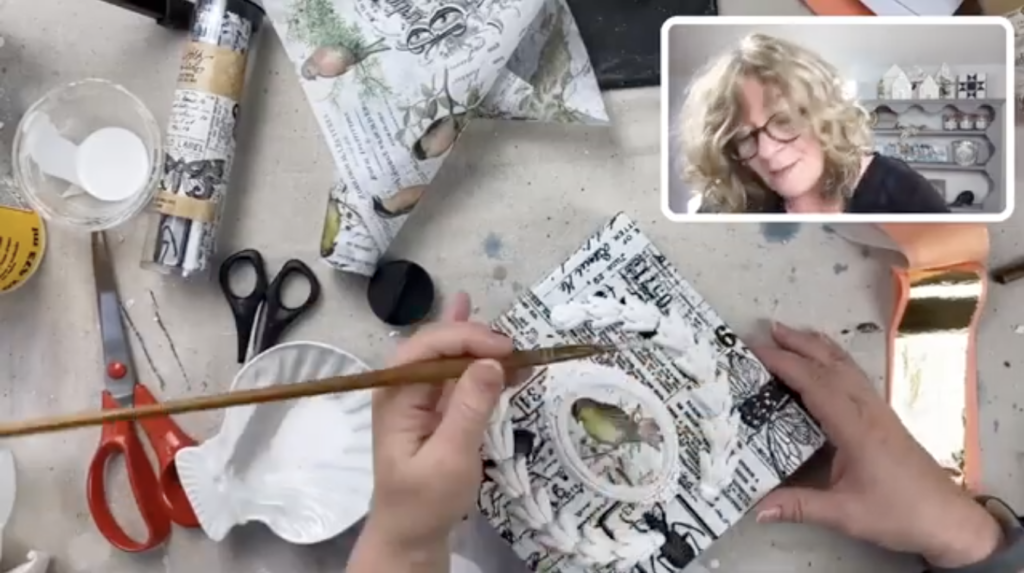
Step 5. Time to apply some gold leaf. Brush on your leafing size wherever you want to add gold leaf. Let the size ‘come to tack’ which means it will no longer be wet but when you touch it it will feel tacky (but not come off on your finger). This takes about 5 minutes. Lay the gold leaf anywhere you’ve applied the size and burnish with a brush to securely lay the leaf down and also remove excess leaf.
Step 6. Enjoy your beautiful gift box for years to come!

Watch the whole tutorial!
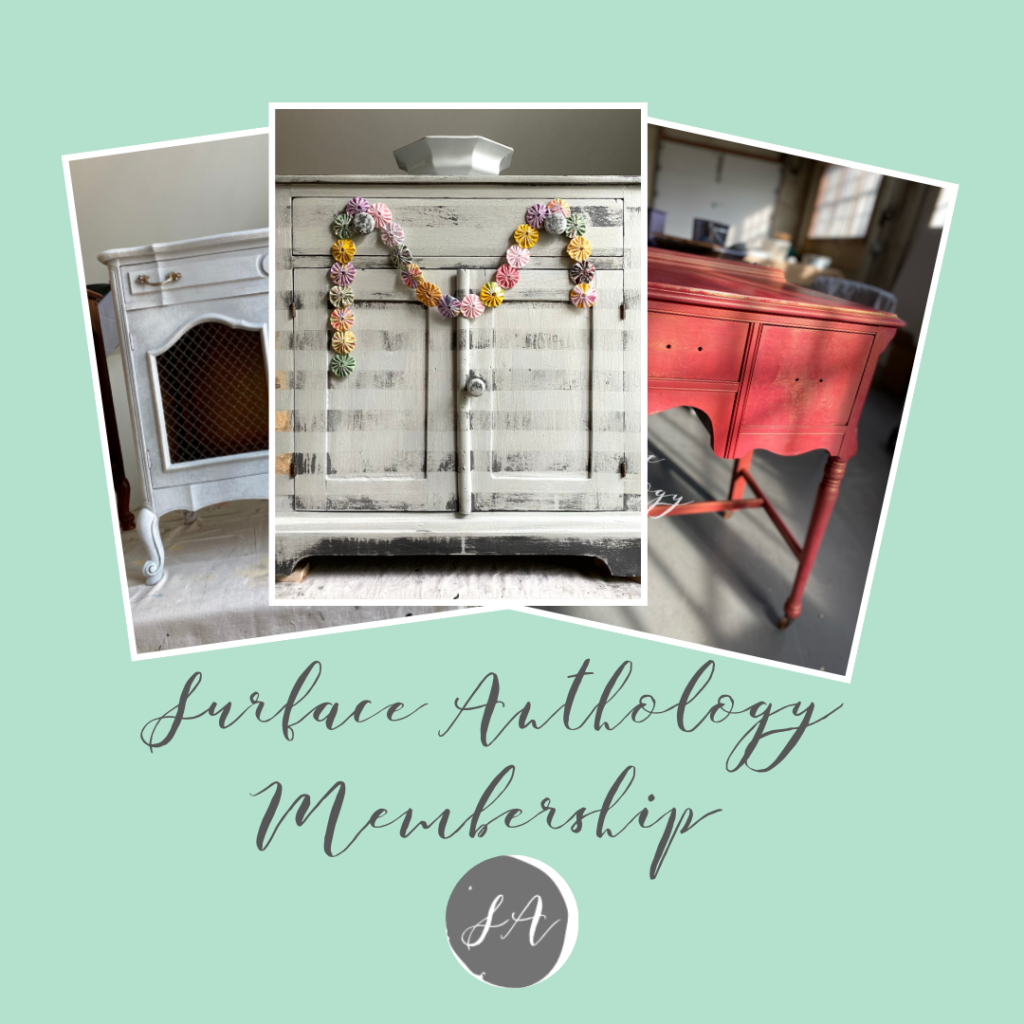
Love painting and really want to deep dive into different paint techniques and finishes? Join the Surface Anthology Membership and enjoy the perks, workshops, lives and more! Click here to learn more and join!
4 Responses
What is the open working time for that clay you used? Thx!
It’s not like a sculpting clay so there’s not a long open time Chris, it’s perfect for mould making 😊