When I ask my followers what they struggle with most when it comes to DIY projects, they almost always answer time.
How can I find the time to get my DIY projects done?
The majority of my followers have a clear vision of what they want for their DIY projects.
They want to get their homes decorated and/or DIY projects started and actually completed, and don’t want another unfinished project making them feel guilty.
They tell me it’s really difficult to carve out the time, let alone organize a project. Soon after starting a new project, their energy gets sapped as the reality of getting it ‘together’ sets in. And the truth is these people are so talented and have the best ideas!
To answer the question, I sat down and analyzed how I organize a project, whether it’s for my own home or for one of my subscription boxes or memberships.

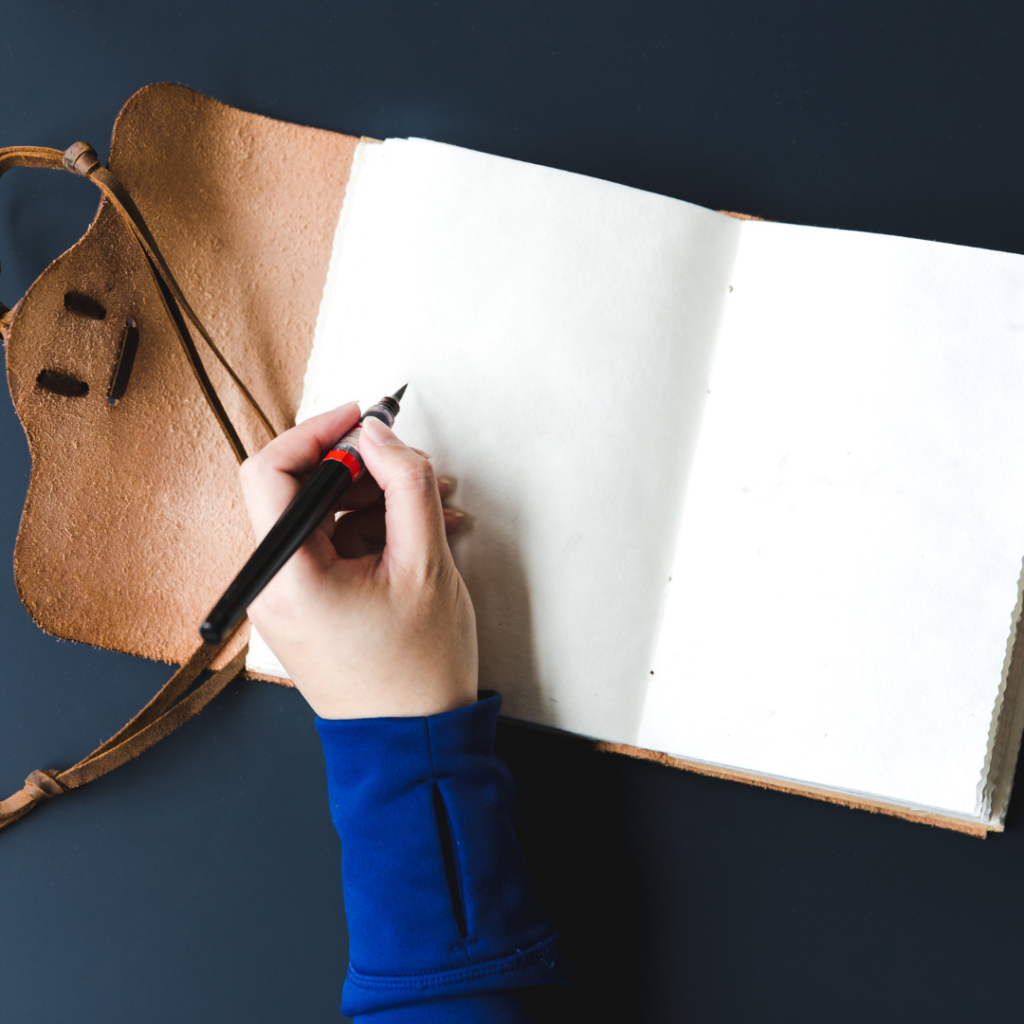
I am a paper and pencil lover!
As much and as I try to use technology, there’s something about writing it down that makes it stick. And let me tell you, I really struggle with organization! This is the only strategy that works for me and I think it will work for others also.
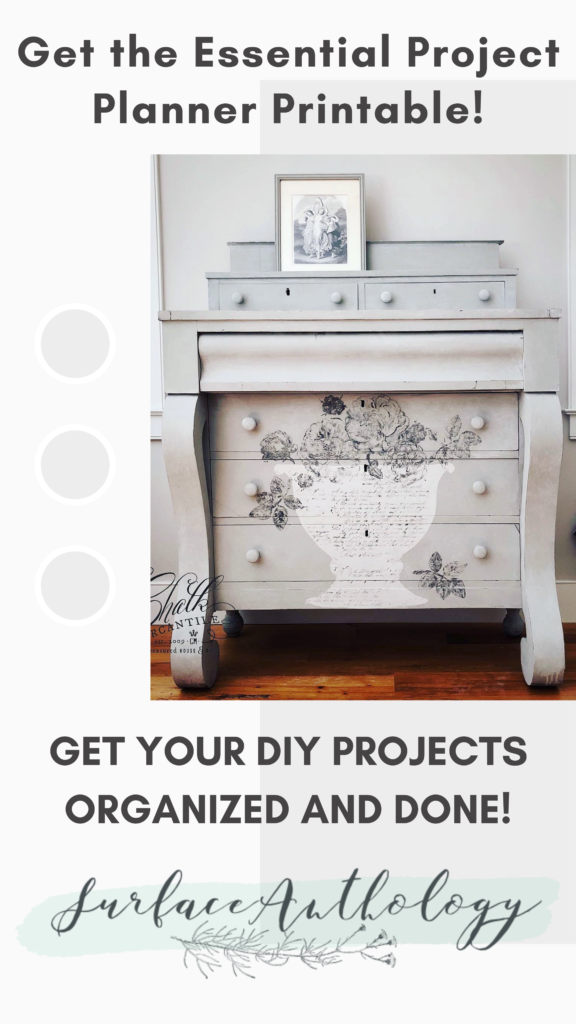
So I solidified my strategy for planning and completing projects and created the Essential Project Planner Printable. With this printable page everything is in one place. No having to look for notes written on scraps of paper that could be who knows where!
Keep all of your Essential Project Planner sheets in one folder or binder as you work on your project. That way if you need a color, supply, or technique it will all be in one place. No need to try and remember where you put it!
The key to making this work is to use it!
Print out the Essential Project Planner and start at the top by naming your project. Move over to the right and jot down your ideas. If you need more room, write on the backside of the project planner. I also encourage you to use post-it notes to be able to move things around.
Go to the bottom right side of the planner page and make a sketch in pencil so you can erase as your idea comes into full focus.
I recommend thinking about your project idea for a few days as your vision can change and evolve.
Once you’re pretty solid on your vision, start to write down the steps you’ll need to complete your DIY project.
As you write down the steps, be sure to go the the Supplies Needed block on your planner page and record what you need. This will make it so easy to go to your DIY pantry or purchase the things you’ll need before you start and discover you’re missing something.
Keep your planner page with you as you work to complete your project. If you need anything it’s there and you’ll know exactly what step you have to complete before you can move onto the next. This allows you to stay on track, even if you only have an hour or two a week to be able to work on it.
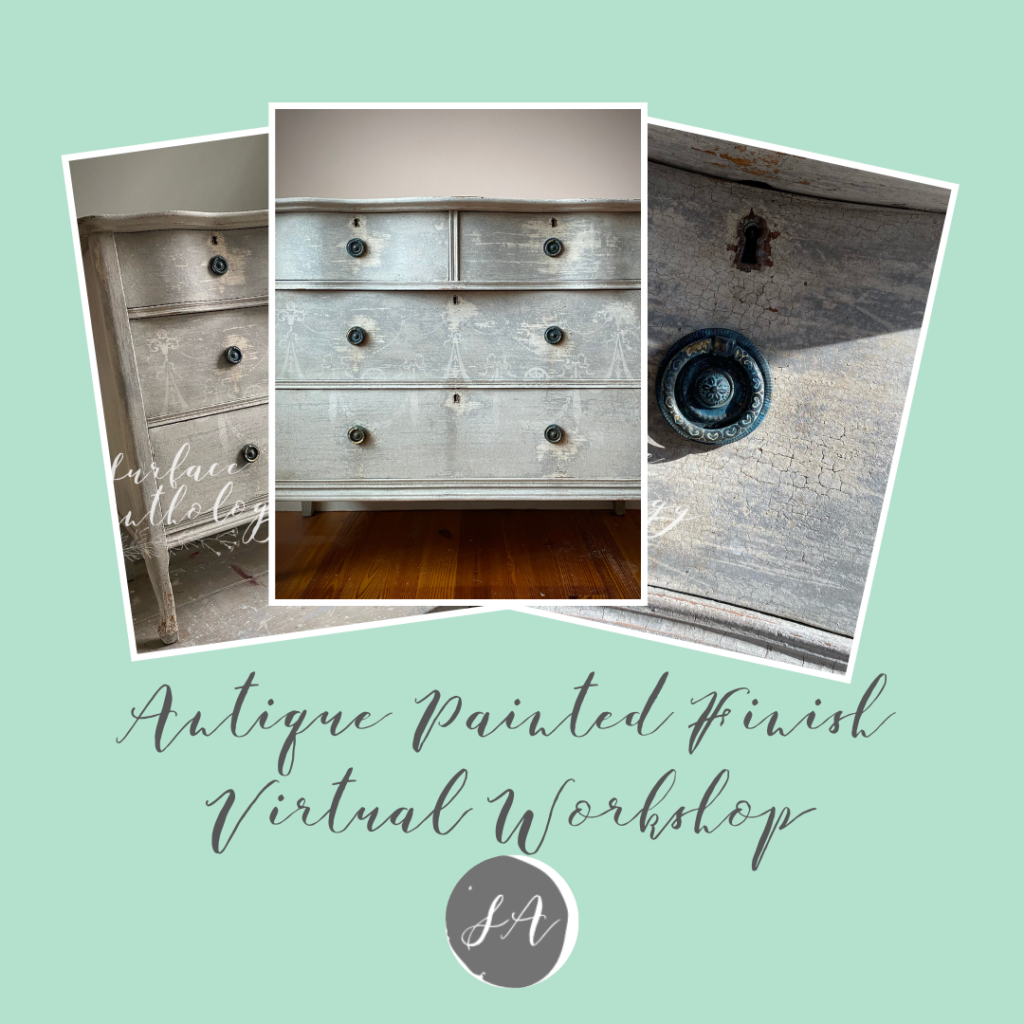
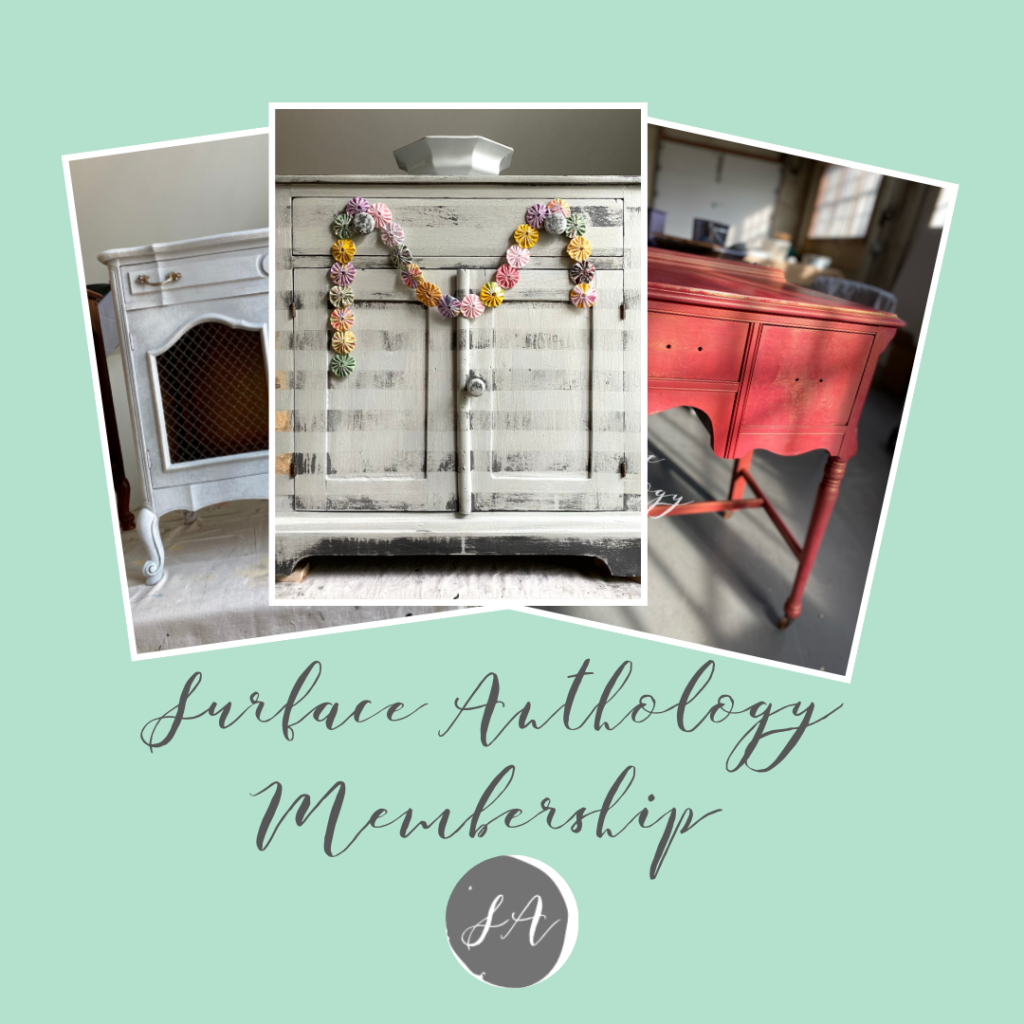
Love painting and really want to deep dive into different paint techniques and finishes? Join the Surface Anthology Membership and enjoy the perks, workshops, lives
and more! Click here to learn more and join!
Happy painting!